
 Save it
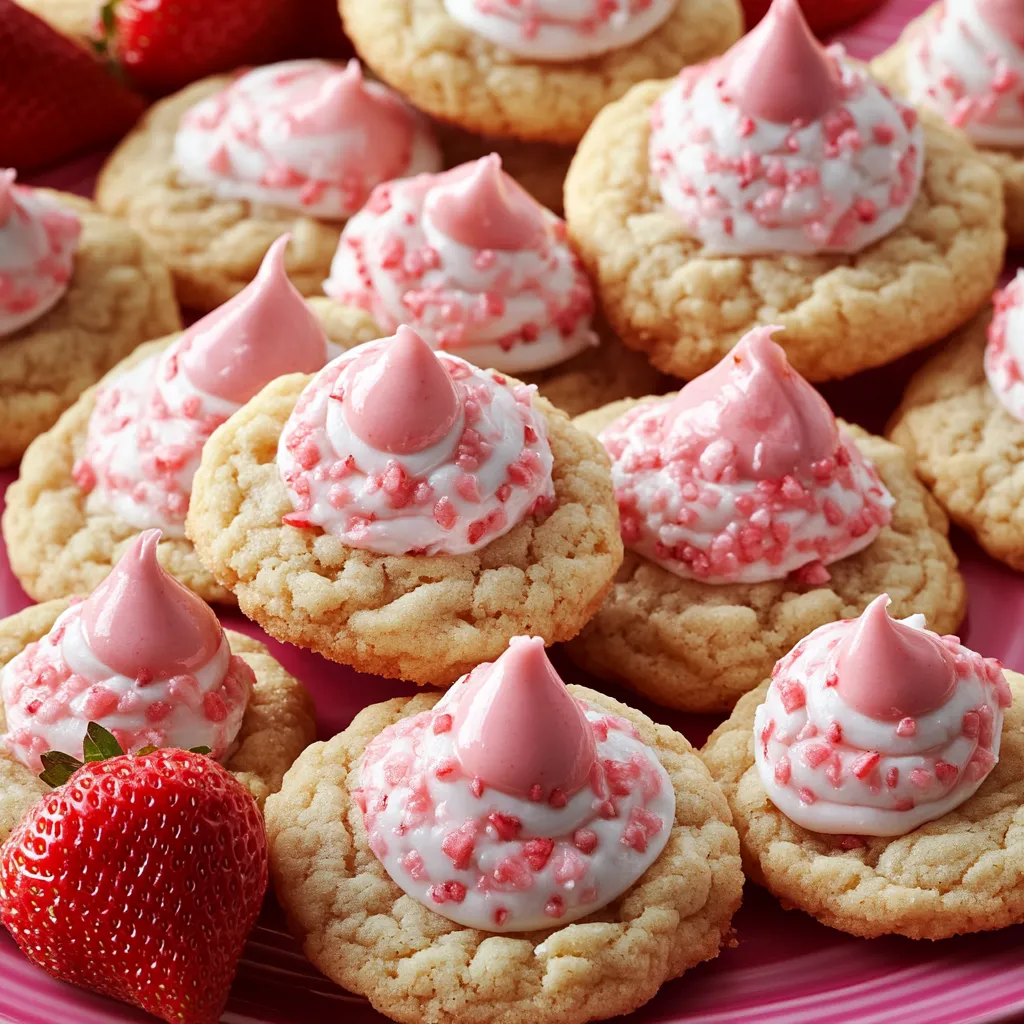
These adorable pink treats combine buttery, sweet dough with fruity strawberry flavor. Each cookie holds a chocolate kiss right in the center, making them as cute as they are tasty. You'll fall for these Strawberry Kiss Cookies that bring a bit of sweetness to any dessert tray.
I first baked these for my kid's class Valentine's party, and now everyone wants them all the time. What makes them so popular? It's that surprising mix of strawberry and chocolate that hooks both grown-ups and children.
Key Ingredients
- Butter: Needs to be just right - soft enough for a fingerprint but still holding its shape
- Strawberry Gelatin: Gives these cookies their taste and pretty pink look
- Egg: Don't use it cold from the fridge or your butter will clump up
- Vanilla Extract: The real stuff works best to cut through the sweetness
- Chocolate Kisses: Take the wrappers off before you start baking so they're ready to go
- All-Purpose Flour: Measure by spooning into cups then leveling for the right amount
 Save it
Step-by-Step Guide
- Step 1:
- Set your butter and egg on the counter about 2 hours before starting so they warm up
- Step 2:
- Whip the butter by itself until it's fluffy and smooth, which takes around a minute
- Step 3:
- Slowly pour in sugar while mixing and watch it turn lighter as you go
- Step 4:
- Break your egg into a small bowl first to check for shells before adding it in
- Step 5:
- Add the extracts with just enough mixing - too much will make tough cookies
- Step 6:
- Add the gelatin bit by bit while stirring to avoid lumps
- Step 7:
- Mix all dry stuff in another bowl so the rising agents spread out evenly
- Step 8:
- Put flour mix in three batches, stirring just enough each time
- Step 9:
- Form smooth balls by rolling dough between your hands
- Step 10:
- Make neat dents by pressing and gently turning your thumb
- Step 11:
- Keep an eye on them while they bake - you want soft cookies with barely set edges
- Step 12:
- Push kisses into centers right when you take the cookies out while they're still soft
Stunning Serving Ideas
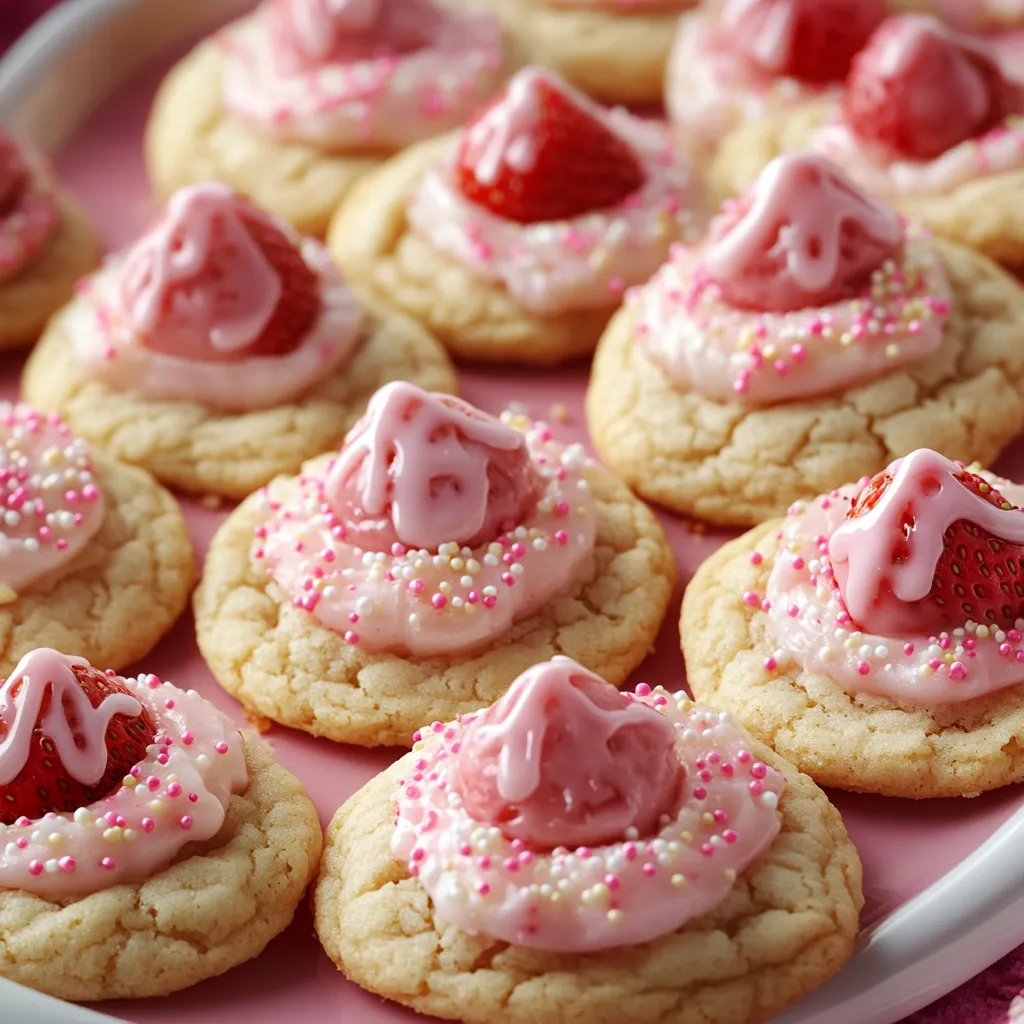
Show off your cookies by putting them in circles on a nice plate, where the chocolate tops create a pretty pattern everyone will notice.
Keeping Them Fresh
To keep these cookies nice and soft, store them with wax paper between layers in a container that seals tight.
When my grandkids visit, they always want to help make these. Their tiny thumbs make just the right sized holes, and they're so proud when they carefully place each chocolate kiss on top.
 Save it
In our family, these strawberry kiss cookies aren't just something we eat - they're part of who we are. Every Valentine's Day, grandparents, parents and kids gather to bake dozens of batches, filling our home with wonderful smells and making memories that last way longer than the cookies do.
FAQ sur la recette
- → Can I bake these in advance?
- Absolutely! Store them in an airtight container for up to five days, or freeze them for up to three months.
- → Why are my cookies spreading out too much?
- Double-check that your butter isn’t too soft, and chill the dough if it feels too warm before baking.
- → Can sugar-free gelatin be used?
- It can! Just know it might change the texture and sweetness a little.
- → When should I put on the chocolate kiss?
- Plop them on when the cookies are warm, not super hot. About 2-3 minutes after taking them out of the oven works great.
- → Do I have to add almond extract?
- Nope! Skip it or replace it with more vanilla extract if you'd like.