
 Save it
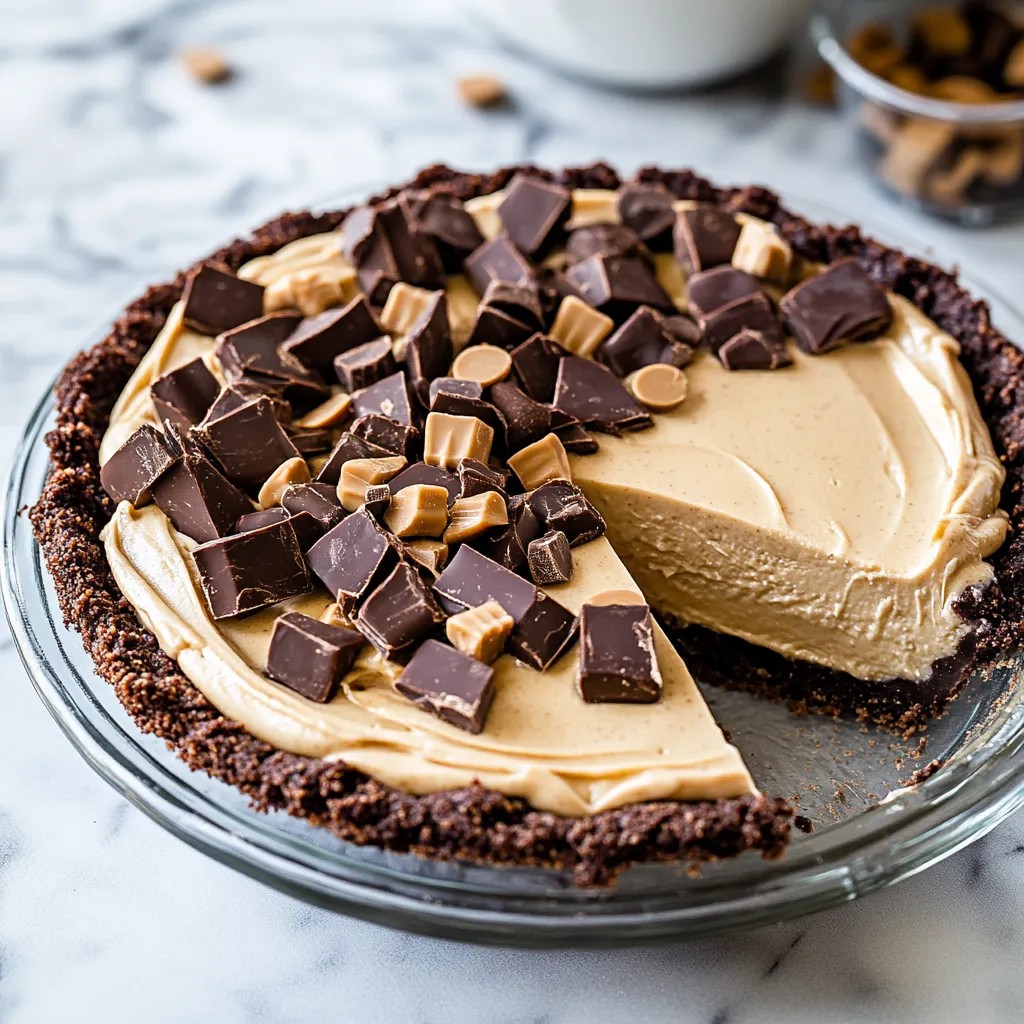
A velvety peanut butter pie that skips the oven makes this treat popular all year. The smooth filling paired with the crispy Oreo base creates an amazing contrast that takes me back to those classic peanut butter cups, but in a fancier, more sophisticated way.
When I first whipped this up for my daughter's party, it vanished so fast I started making doubles. These days it's the dessert everyone asks for at family events, particularly during backyard cookouts when nobody wants to heat up the kitchen.
Key Components
- Oreos: Standard ones work best - they break down into the right crust texture
- Cream Cheese: Use the full-fat kind at room temp for ultimate smoothness
- Peanut Butter: Stick with mainstream options like Skippy or Jif for better results
- Heavy Cream: Keep it super chilled for proper volume
- Powdered Sugar: Blends in completely without any gritty feel
- Vanilla Extract: Enhances the peanut butter and rounds out the flavor
 Save it
Step-by-Step Guide
- Step 1:
- Let your cream cheese sit out for at least 2 hours - any coolness will cause bumps in your filling.
- Step 2:
- When breaking down Oreos, blend until you get fine bits but stop before they become dust.
- Step 3:
- Add butter to crumbs little by little, stopping when it feels similar to damp sand.
- Step 4:
- Pack down crust with a measuring cup bottom, focusing on the corner where sides meet bottom.
- Step 5:
- Cool crust until it's solid to touch - this keeps it intact when filling goes in.
- Step 6:
- Beat cream in a cold bowl until peaks begin to form, then mix in sugar and continue until stiff.
- Step 7:
- Mix cream cheese by itself first until totally smooth before mixing other stuff in.
- Step 8:
- Mix peanut butter into cream cheese bit by bit, wiping bowl sides often.
- Step 9:
- Work in whipped cream using soft, bottom-to-top movements to keep it fluffy.
- Step 10:
- Refrigerate until fully set for tidy cutting.
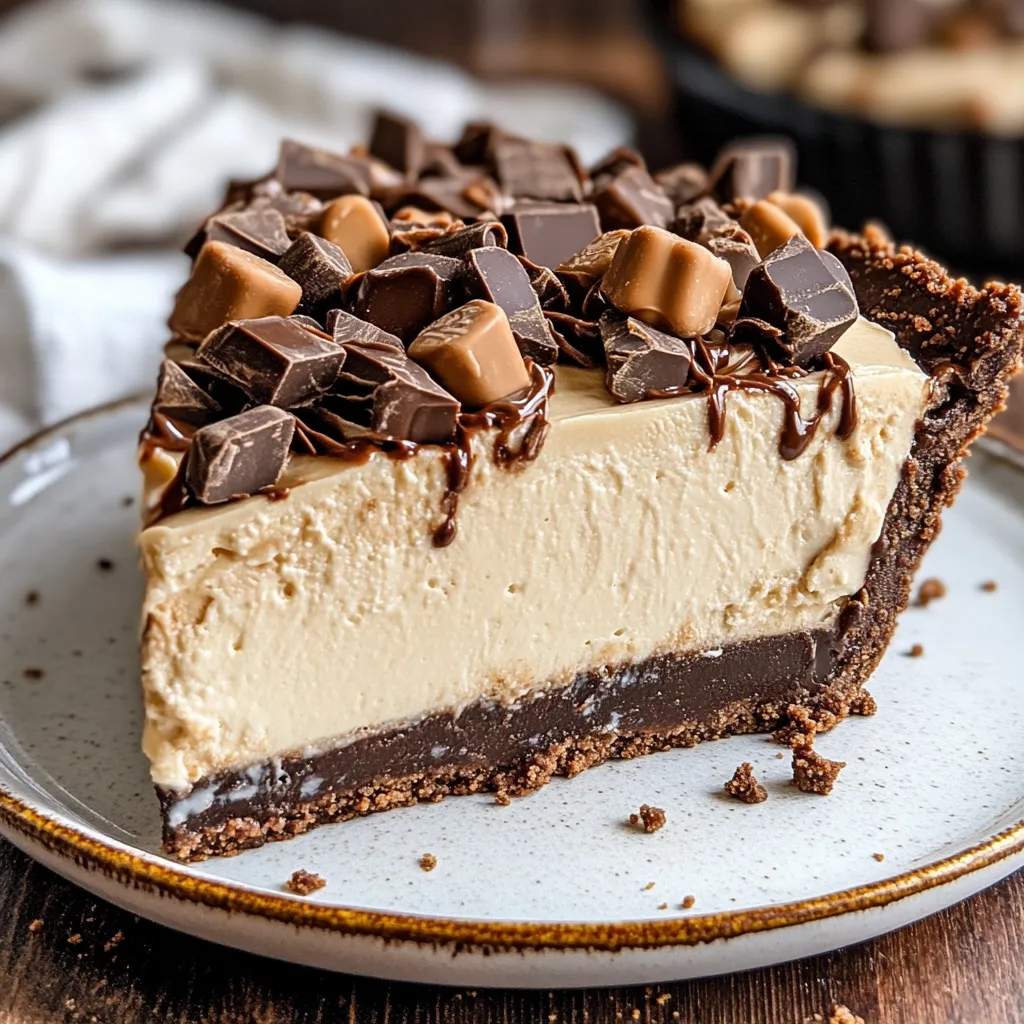
We found out that half-frozen slices taste incredible when it's hot outside. My little grandson calls it his "peanut butter ice cream pie" and picks it for his birthday every year.
Amazing for Parties
Making this pie in advance takes the rush out of hosting. The filling holds its shape for hours, and the base stays nice and crunchy.
Changing With the Seasons
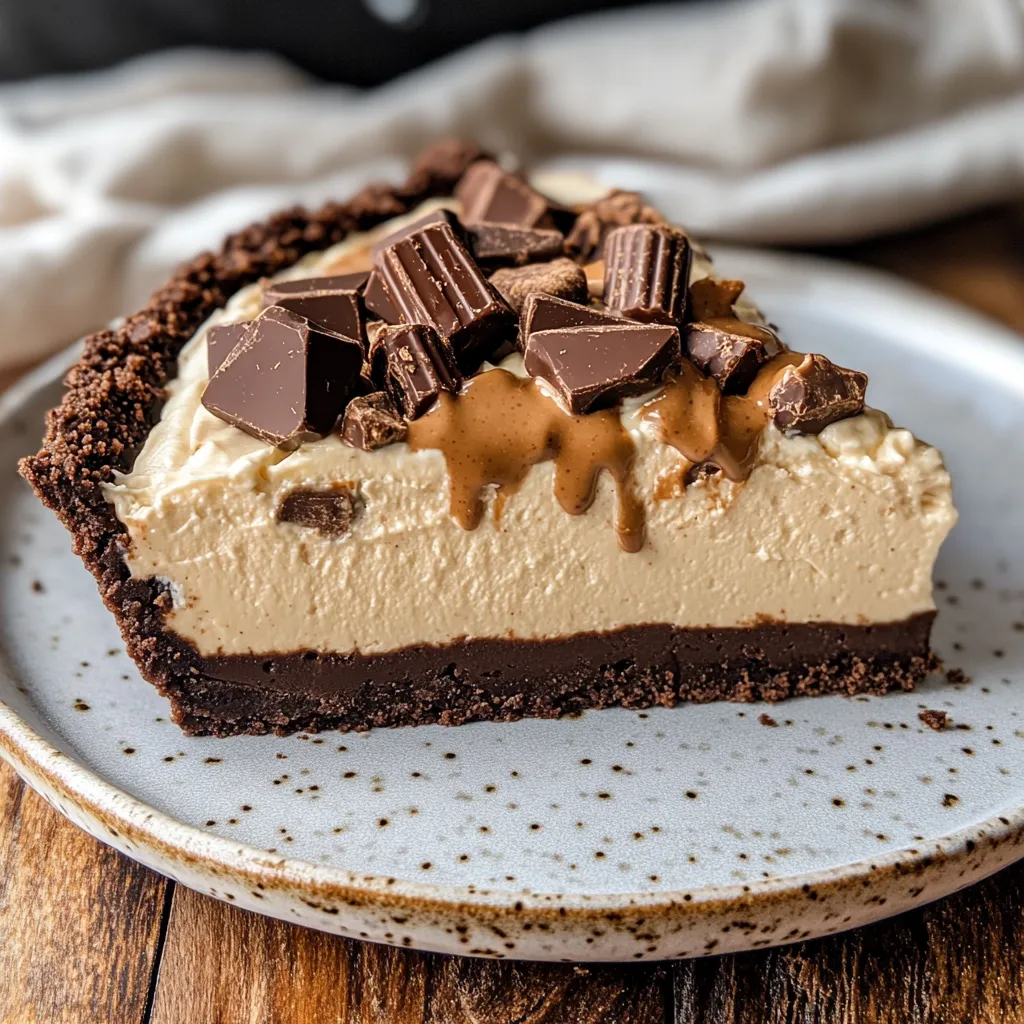
In summer we go for a frozen version with chocolate on top, while winter gatherings might feature hot butterscotch and a sprinkle of nuts.
 Save it
Fantastic Time-Saver
This dessert actually gets better after spending a day in the fridge as the tastes blend together and the texture firms up just right.
This quick peanut butter pie has turned into my go-to dessert, the one everyone expects me to show up with. It's so easy and reliable that it works for any get-together, while the rich, creamy texture means there's never leftovers and always happy faces around the table.
FAQ sur la recette
- → Can I prepare the pie in advance?
- Absolutely! Make it 3 days ahead to refrigerate, or freeze it for up to a month.
- → Why does cream cheese need to soften first?
- Soft cream cheese mixes easier, ensuring a silky filling without chunks.
- → Is crunchy peanut butter okay to use?
- Stick to smooth peanut butter for the best creamy results.
- → What can I swap for chocolate grahams?
- Try Oreo crumbs or crushed Chocolate Teddy Grahams as great alternatives.
- → How can I make this without using peanut butter?
- You can replace it with almond butter. Follow the specific swaps in the notes!