
 Save it
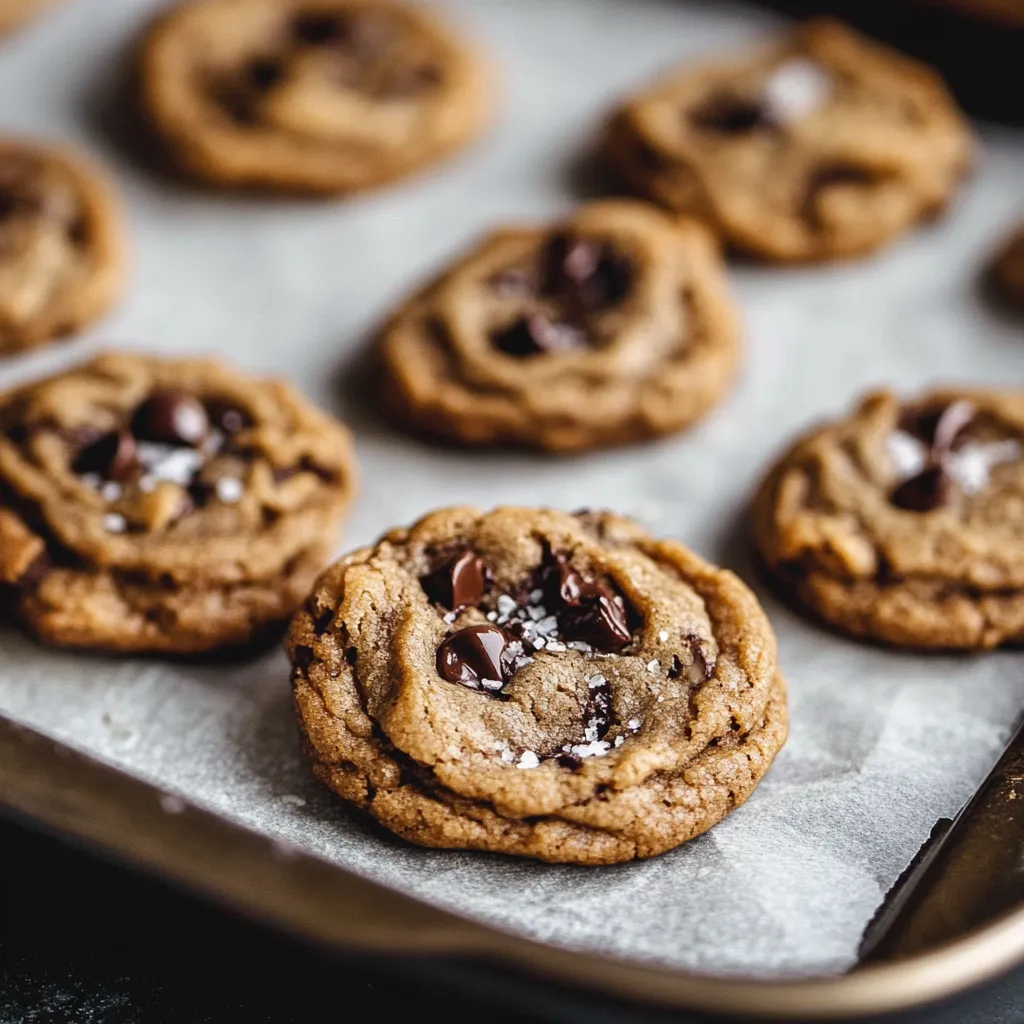
Elevate your regular chocolate chip cookies to something truly special with these Coffee-Infused Chocolate Chip Cookies. The real magic comes when nutty browned butter combines with bold espresso, making a grown-up cookie that satisfies both your morning caffeine fix and sweet tooth at once. Every mouthful gives you crispy edges with soft middles, while the coffee brings out chocolate flavors in ways that'll make traditional chocolate chip cookies seem boring.
I made these for my kid's study buddies last Saturday, and they vanished quicker than anything I've ever baked. The mix of nutty butter and coffee smelled so good that nobody would wait for them to cool down properly.
Key Ingredients Breakdown
- Unsalted butter: Go for European brands with extra fat for deeper nutty flavors when browned
- Ground espresso: Pick fresh, dark espresso powder for strong taste without any harsh bitterness
- Light brown sugar: Its natural molasses makes cookies chewy with hints of caramel
- Egg plus yolk: That extra yolk boosts richness and helps get that perfect chewy bite
- Semi-sweet chocolate: Try bars with about 60% cocoa, hand-chopped for interesting texture bits
- All-purpose flour: Grab unbleached for better cookie structure
- Vanilla extract: Real extract works best with both coffee and chocolate flavors
Detailed Baking Method
- Brown Your Butter:
- Melt butter in a light pan over medium heat. Let it foam up. Gently swirl as golden bits form at the bottom. Keep going until it turns amber with a nutty smell. Pull it off the heat when you see tiny copper bits. Add espresso while it's still hot to get the most flavor. Cool it down until barely warm (about 15-20 minutes).
- Mix Wet Stuff:
- Dump cooled butter mix with both sugars. Stir until it looks like damp sand. Drop in room temp egg and yolk one after another. Stir well after each. Add vanilla and mix until everything looks shiny.
- Add Dry Ingredients:
- Put flour in three batches, mixing softly between each. Sprinkle baking soda and salt across the top. Fold everything just until no flour shows. Toss in chopped chocolate with minimal mixing. Stop once chocolate is spread around.
- Chill Your Dough:
- Scoop with a 3-tablespoon measure for even cookies. Put dough balls on a lined cookie sheet. Cover with plastic. Chill for at least 3 hours or overnight. Keep unused dough cold between batches.
- Bake Them Up:
- Put cold dough balls on room temp baking sheets. Leave 2 inches between each. Bake in the middle of your oven. Look for golden edges and puffy centers. Take them out while middles still seem a bit raw.
 Save it
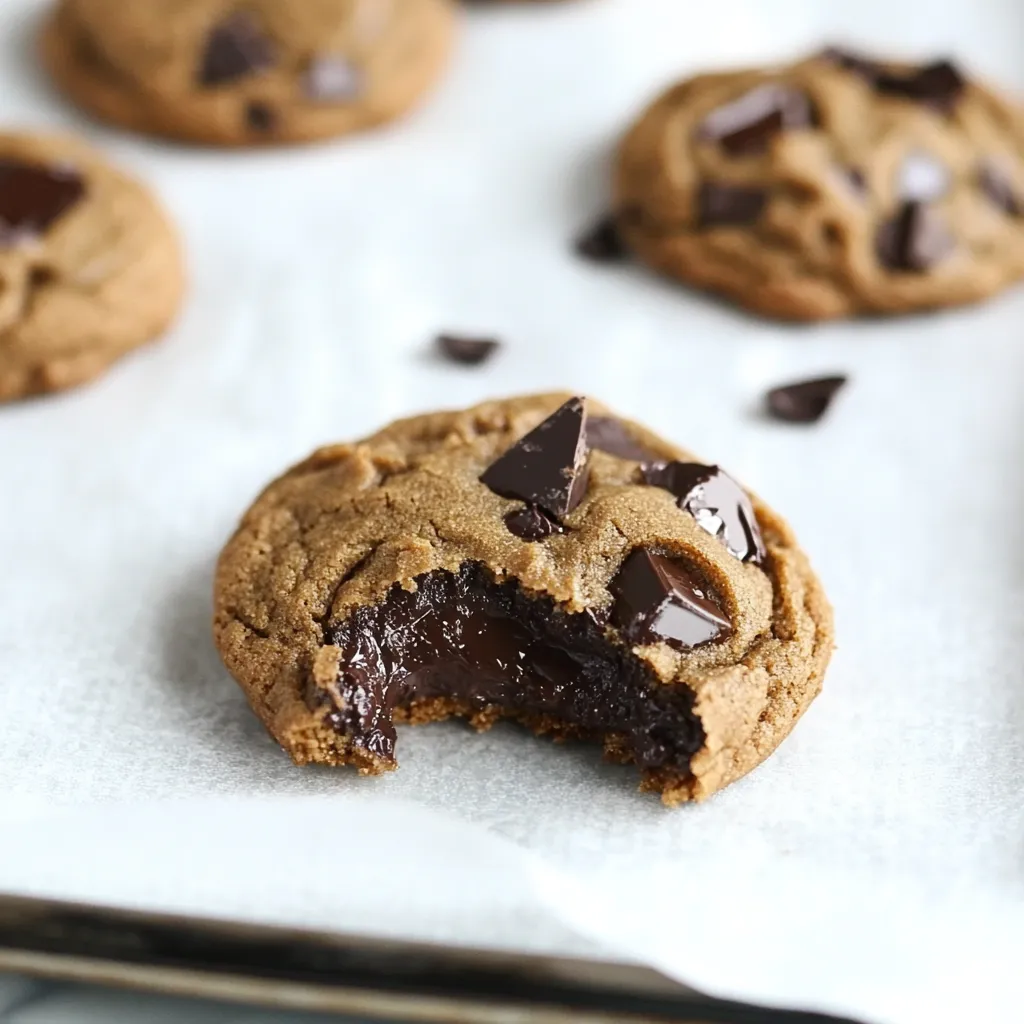
We love eating these cookies when they're still a bit warm and the chocolate hasn't fully set but the edges are still crunchy. My husband usually passes on sweets, but he can't turn these down with his evening cup of coffee.
Watching Your Dough Temp
Getting your dough temperature right really changes how your cookies turn out. I've learned that letting browned butter cool until it's just warm to touch but not solid makes the best dough mix. When you add eggs, they shouldn't be cold from the fridge or they'll make the butter clump up.
Keeping Cookies Fresh
After tons of batches, I've figured out that putting a bread slice in your cookie container helps them stay soft for days. Put parchment between layers so they don't stick together, and don't mix these with other cookie types since the coffee flavor can rub off on them.
Choosing The Right Chocolate
Through lots of testing, I've found that cutting up chocolate bars yourself creates those yummy melty spots that chips just don't give you. I like using a combo of 60% and 70% dark chocolate for more flavor, though my kids prefer them with only semi-sweet chocolate.
Planning Ahead
These cookies actually get better when you don't rush. You can keep the dough in your fridge up to 3 days, which lets the flavors blend better. I often mix double batches and freeze some for when friends drop by or when I need a late-night sweet fix.
Ways To Enjoy Them
Though they're great alone, try them slightly warm with vanilla ice cream for a real treat. They also make awesome ice cream sandwiches - just wait till they're totally cool first. During holiday parties, I've noticed they're always the first cookies to get grabbed from the plate.
Getting The Shape Right
How big and what shape your cookies are changes both looks and texture. I've found using a 3-tablespoon scoop gives the perfect thickness for cookies with crispy outsides and chewy insides. Making dough balls taller instead of wider keeps them from spreading too much.
 Save it
After making countless batches over many years, these coffee-enhanced chocolate chip cookies have become my go-to specialty. The mix of nutty browned butter, coffee, and chocolate creates something totally amazing that goes way beyond regular chocolate chip cookies. Whether you have them with morning coffee or as a snack later on, they always make people smile and ask how I made them. The secret is in the little things - getting that butter perfectly browned, using good coffee powder, and being patient with the chilling step. Whenever I bake these, I'm reminded why homemade cookies will always beat anything from a store.
FAQ sur la recette
- → Why is brown butter important?
- It gives the cookies a toasty, caramel-like taste that pairs perfectly with the coffee.
- → Is overnight chilling necessary?
- It’s not a must, but chilling overnight makes the texture better and enhances the cookie's taste.
- → Why do you use an extra yolk?
- Adding a yolk makes the cookies softer and chewier than using just whole eggs.
- → Can I replace espresso powder with coffee?
- Regular ground coffee will work, but espresso gives a stronger coffee punch.
- → How do I know the butter is browned enough?
- When it smells nutty and the solids are golden brown at the bottom of the pan, it's ready!