
 Save it
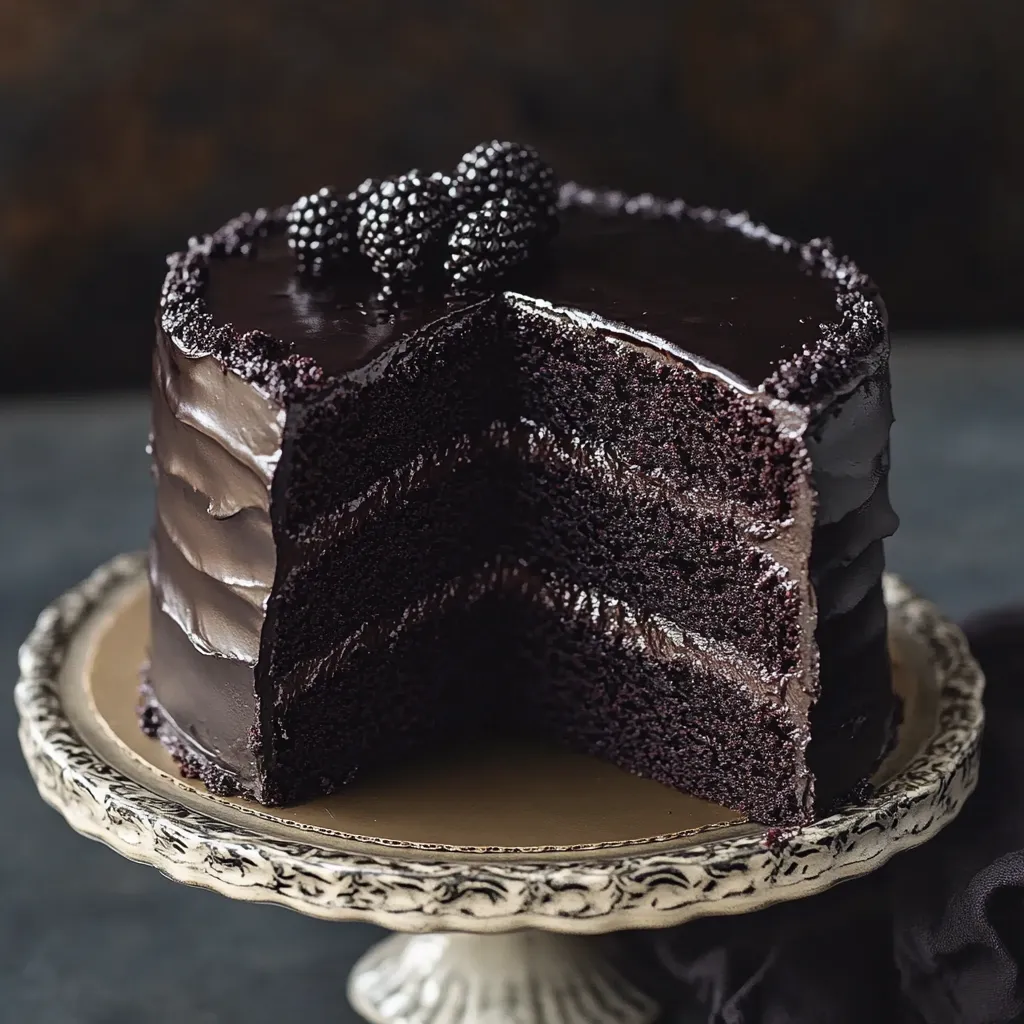
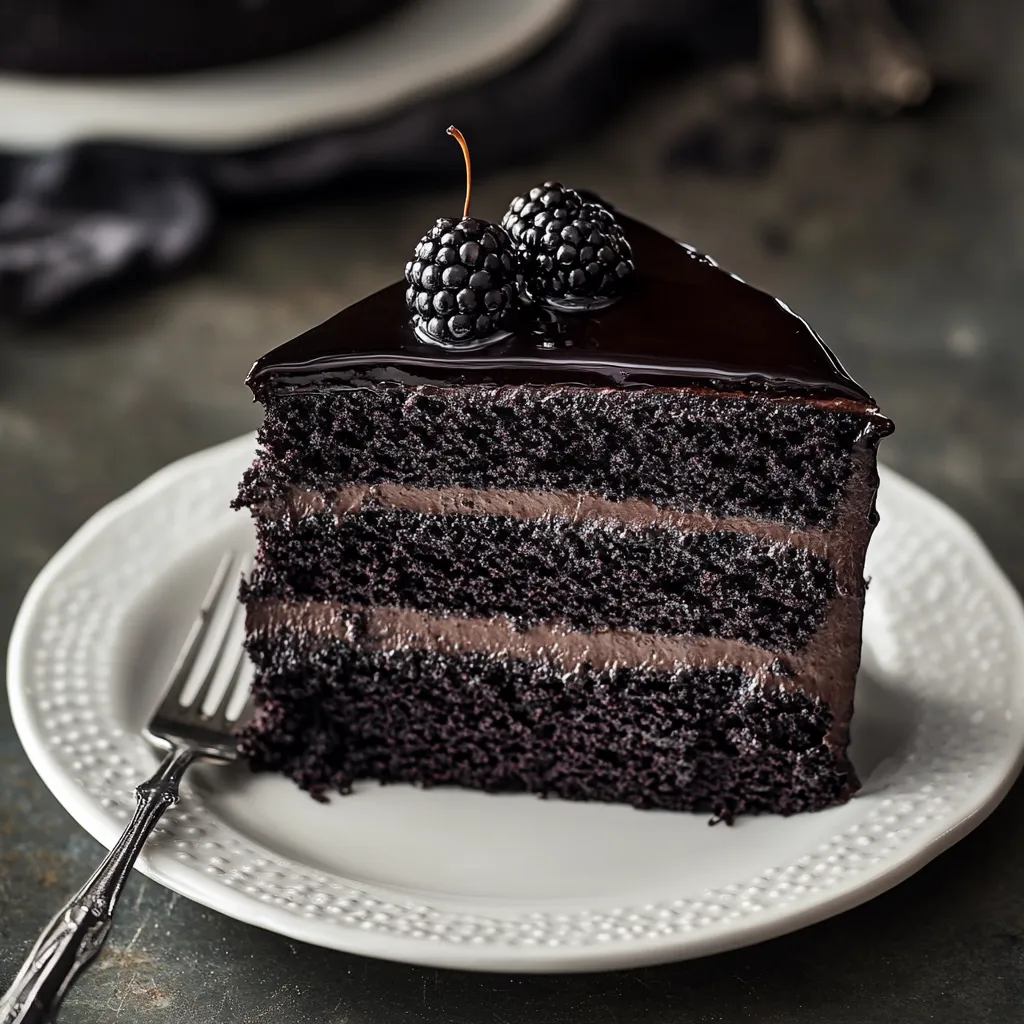
I'll help you turn a basic chocolate cake into a show-stopping Black Velvet creation. This eye-catching treat blends deep cocoa flavors with a stunning black color, making it ideal for fancy gatherings or when you want to wow your guests with something unforgettable.
I've played around with so many versions until I got it right. The mix of black and standard cocoa works magic for both look and taste. The first time I brought this to a Halloween get-together, nobody could stop talking about how good it looked and tasted.
Key Components and Smart Picking Advice
- Black Cocoa Powder: Go for Dutch-processed to get that midnight shade. Keep it sealed tight when not using.
- Buttermilk: Pick the whole-fat kind for better texture. Let it sit out until it's not cold anymore.
- Butter: Grab unsalted so you can control how salty your cake gets. Make sure it's properly softened.
- Black Food Coloring: Stick with gel or paste types for deeper color that won't mess up your batter.
 Save it
Step-by-Step Baking Guide
- Step 1: Getting the Base Just Right
- Whip until it's super fluffy and light. Don't forget to scrape the bowl often. You want it almost white looking. Try feeling it between your fingers to make sure there's no sugar grains left.
- Step 2: Mixing in Dry Stuff Carefully
- Run your cocoas through a sifter first. Add them bit by bit to avoid making a mess. Stop mixing as soon as everything blends. Be gentle to keep all those air bubbles.
- Step 3: Getting That Perfect Dark Color
- Put coloring in little by little. Mix it well each time you add more. Look at it in daylight to check the color. Keep in mind it'll get a bit darker in the oven.
I came up with this while playing around with a regular red velvet recipe. I wanted something just as striking but with a more grown-up vibe. Using two different cocoa types was the game-changer that made everything click.
Getting that deep black shade while keeping the cake super moist took me tons of tries to figure out. Adding vinegar doesn't just help with the color but also makes every bite incredibly tender.
 Save it
This cake has become my go-to for any celebration. I still love watching people's faces when they see that first slice, and the deep, layered chocolate taste has everyone asking for seconds.
FAQ sur la recette
- → What makes black cocoa powder unique?
- It's a heavy-duty processed cocoa that gives Oreo cookies their signature dark color and taste.
- → Can I leave out food dye?
- Sure! The black cocoa on its own delivers a super dark look.
- → Why use oil along with butter?
- Oil keeps it tender for days, and butter gives it that classic bakery taste.
- → Can I make this as cupcakes?
- Of course! Bake at the same temp for about 18-20 minutes.
- → Best way to store this dessert?
- Keep it covered at room temp for three days, or pop it in the fridge for up to a week.