
 Save it
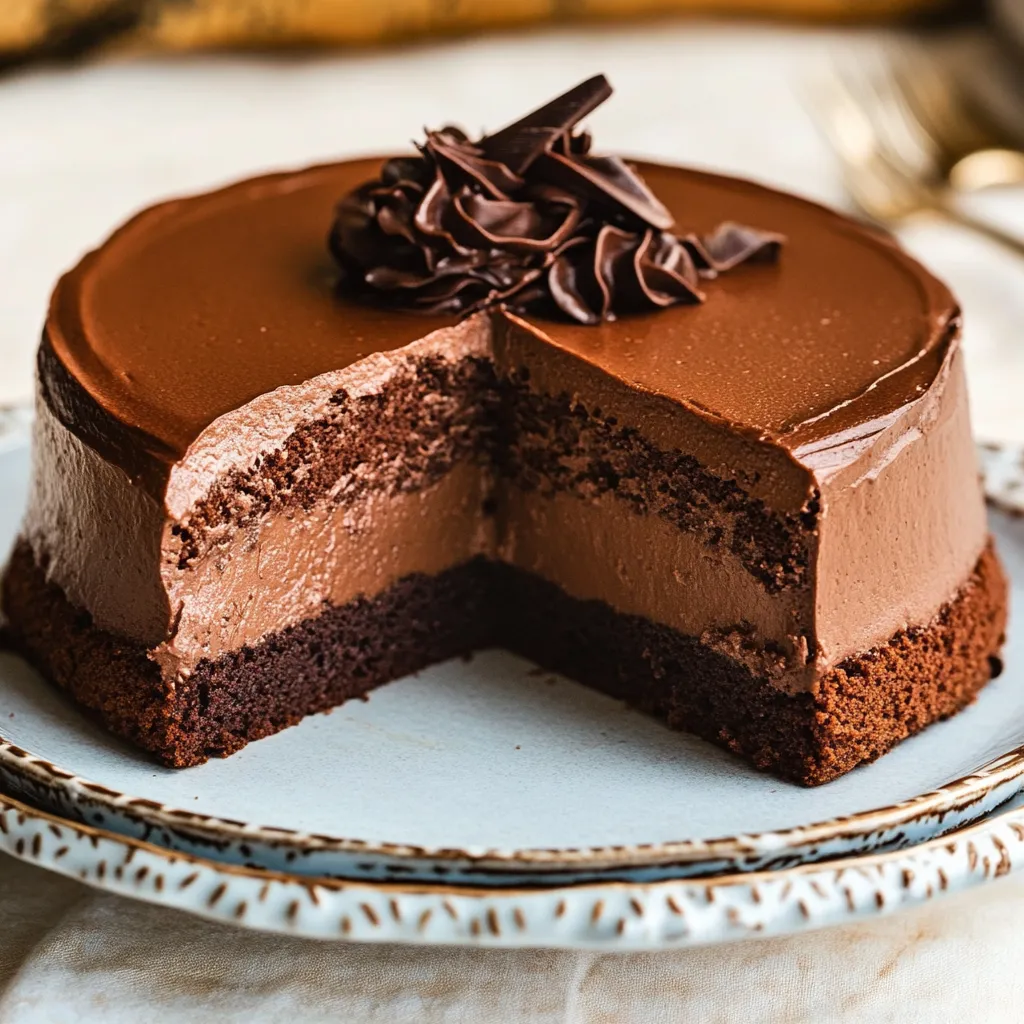
I've turned this decadent dessert into a comprehensive walkthrough for making the perfect chocolate indulgence. This three-layered chocolate sensation merges a soft chocolate base, velvety mousse interior, and shiny chocolate coating to craft a mind-blowing sweet treat.
After whipping up tons of mousse desserts over the years, I think this one nails the sweet spot between decadence and fluffiness. The first time I brought this out after dinner, my friends thought I'd snuck out to a fancy bakery.
Key Components and Shopping Advice
- Dark Chocolate: Go for good 70% cocoa bars for bold taste. Look for those shiny marks showing proper manufacturing.
- Milk Chocolate: Stick with trusted names for better melting and taste results.
- Dutch Process Cocoa: Gives you a blacker color and fuller chocolate kick than regular cocoa powder.
- Fresh Eggs: Split them up when they're still cold but let them warm up before using.
- Heavy Cream: Don't settle for anything under 36% fat or it won't whip right.
Step-by-Step Preparation Guide
- Step 1: Getting the Base Just Right
- Double check your oven's real temp before you start. Mix all your dry stuff really well to break up cocoa clumps. Put the hot coffee in last to wake up those cocoa flavors. Pull it out when a toothpick comes out with just a tiny bit of stickiness.
- Step 2: Nailing the Mousse
- Go slow when melting your chocolate so it doesn't get grainy. Warm those egg yolks carefully so they don't turn into breakfast. Make sure the gelatin completely dissolves in the warm cream. Stir with a light touch to keep all those air bubbles intact.
- Step 3: Perfecting the Top Layer
- Cut your chocolate into same-sized bits for smooth melting. Warm the cream just until it starts to bubble around the edges. Let everything sit untouched for 3 minutes. Pour at the sweet spot temp for those gorgeous drips down the sides.
 Save it
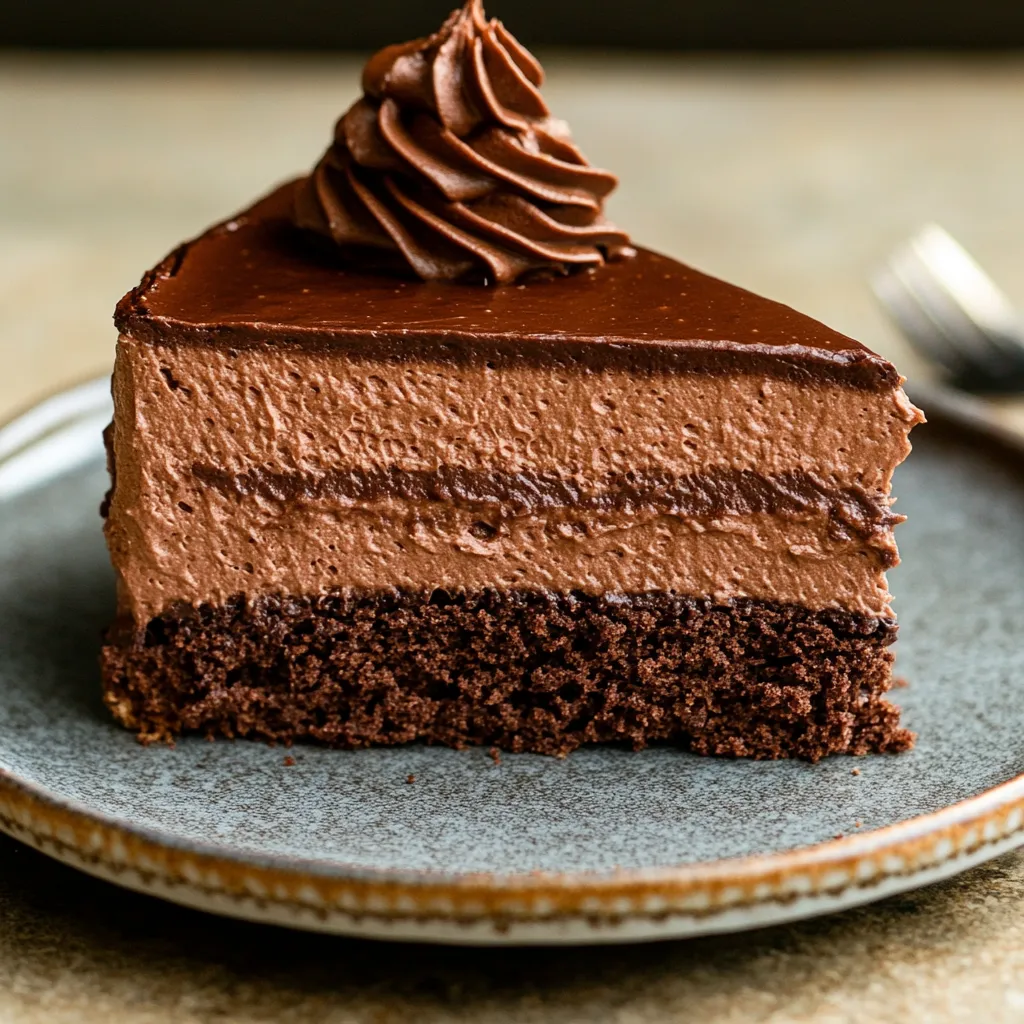
I spent years watching my grandma work her magic with chocolate treats, and she always said taking your time makes all the difference. This isn't a quick dessert, but each step builds amazing flavor that's totally worth the effort.
The real magic behind this cake comes down to watching your temperatures. I've learned that letting each section cool properly gives you those distinct layers that make every bite interesting.
 Save it
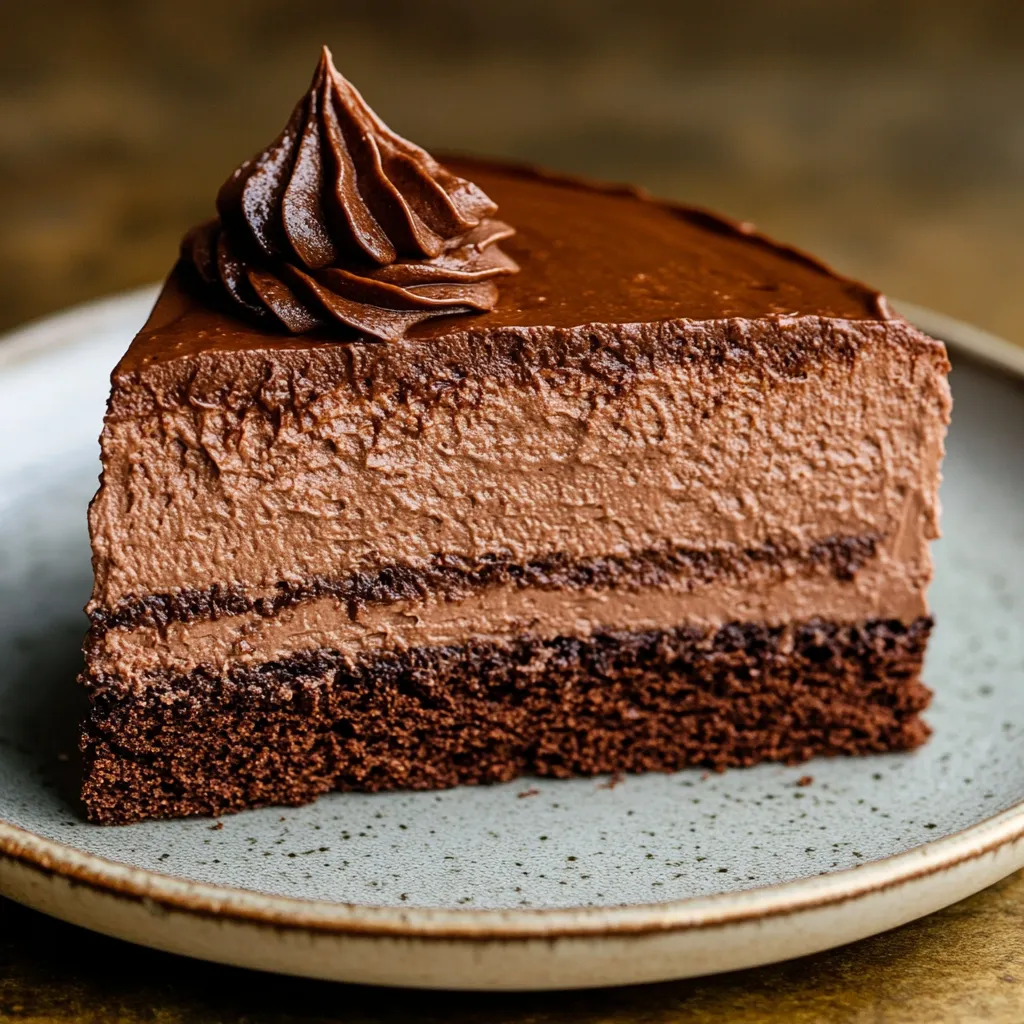
This has become my go-to wow dessert for birthdays and holidays. Combining these three different chocolate techniques creates something that chocolate fans can't stop talking about.
FAQ sur la recette
- → What does acetate or a cake collar do?
- It lets you build the mousse layer with neat, smooth edges.
- → Can I prepare it in advance?
- Sure, it keeps well in the fridge for up to two days.
- → Why is coffee added to the cake?
- It boosts the chocolate taste and keeps the cake moist, no coffee flavor detected.
- → Can I leave out the gelatin?
- You can’t skip it—it’s needed to set the mousse so it stays firm when sliced.
- → How long can it last?
- Chill in the fridge up to five days, though it’s best enjoyed within three.