
 Save it
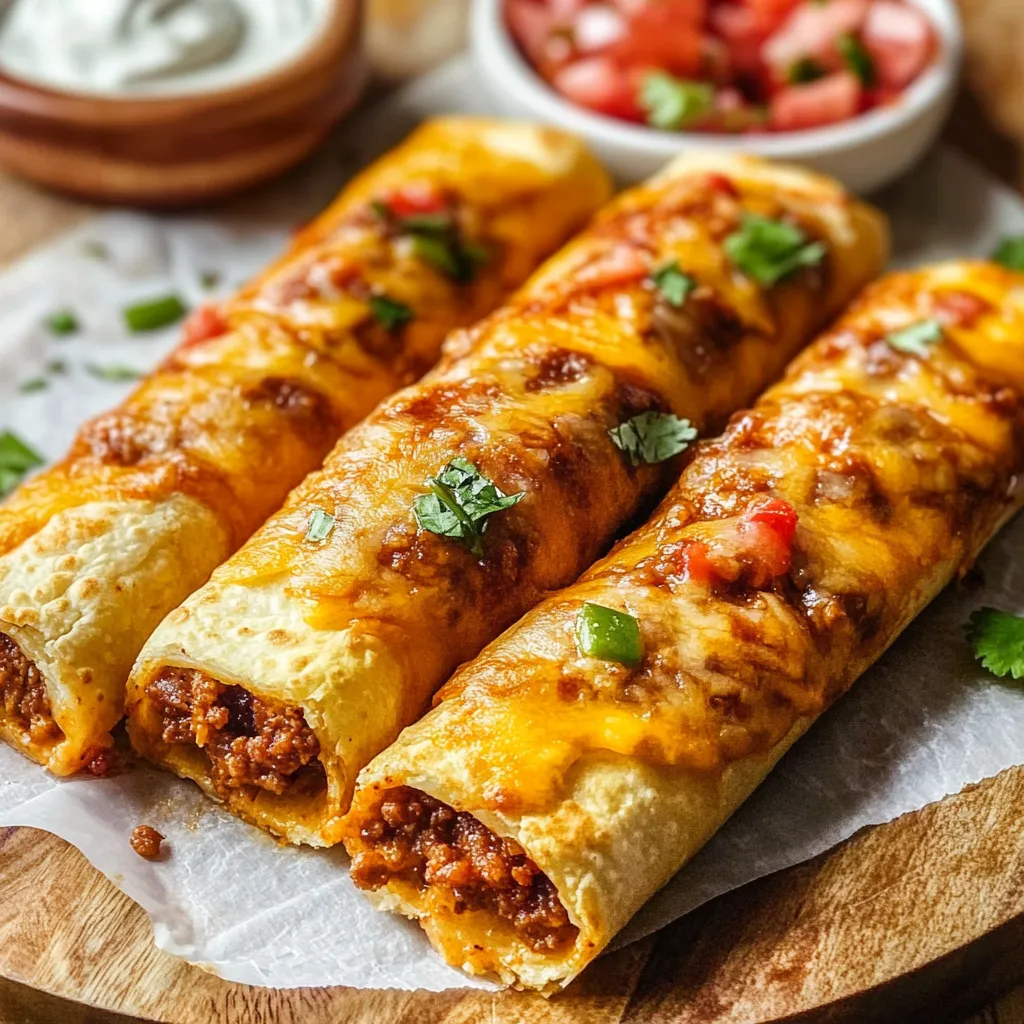
Blend regular pizza dough into a mouthwatering mix of Mexican and Italian tastes with these Gooey Taco Sticks. Mixing spiced beef, gooey cheese, and a garlic butter outer layer makes a grab-and-go treat that works for quick dinners or laid-back get-togethers.
I found this gem during a hectic sports week, and it's now my favorite quick meal fix. There's something special about that gooey cheese inside and the golden garlicky outside that nobody can turn down.
Key Ingredients Breakdown
- Ground beef: Go for somewhat lean but keep some fat
- Pizza dough: Let it sit out before using
- Cheese sticks: Regular fat content melts better
- Taco seasoning: Newly opened spices pack more punch
- Quality butter: The salted kind works best for the coating
- Fresh garlic: Gives way more taste than the dried stuff
- Fresh parsley: Brings nice looks and extra taste
Simple Cooking Instructions
- Cooking the Meat:
- Get beef nice and brown. Smash it into tiny bits. Pour off extra grease. Add plenty of spices. Let it cool all the way.
- Working with Dough:
- Let it warm up first. Flatten it out gently. Slice into even pieces. Keep it covered. Don't dawdle.
- Putting It Together:
- Share meat equally. Drop cheese in middle. Press edges tight. Look for any openings. Leave space between each.
- Making the Butter Mix:
- Heat butter gently. Throw in flavors. Stir it all up. Paint it on thick. Save some for later.
- Cooking in Oven:
- Heat oven completely. Keep an eye on them. Turn pan if needed. Look at the bottoms too. Cool a bit before eating.
 Save it
This dish came about when I needed to jazz up our family's taco nights.
Mastering The Heat
After tons of testing, I've figured out that getting the oven temp right makes all the difference. A fully heated 425°F oven gives you that crunchy outside while keeping everything inside melty and wonderful. I always flip the pan around halfway through so they brown evenly.
Prep-Ahead Tricks
These taco sticks work great for planning ahead. I often cook the meat mix early and stick it in the fridge. When life gets crazy, I put everything together and keep them covered in the fridge for up to 4 hours before baking. Just cook them a minute or two longer.
Keeping Leftovers Fresh
They're best right away, but you can keep extras in a sealed container in your fridge for three days max. To warm them up, I put them in a 350°F oven for about 5-7 minutes to get that crunch back. The microwave works in a pinch, but they won't be as crispy.
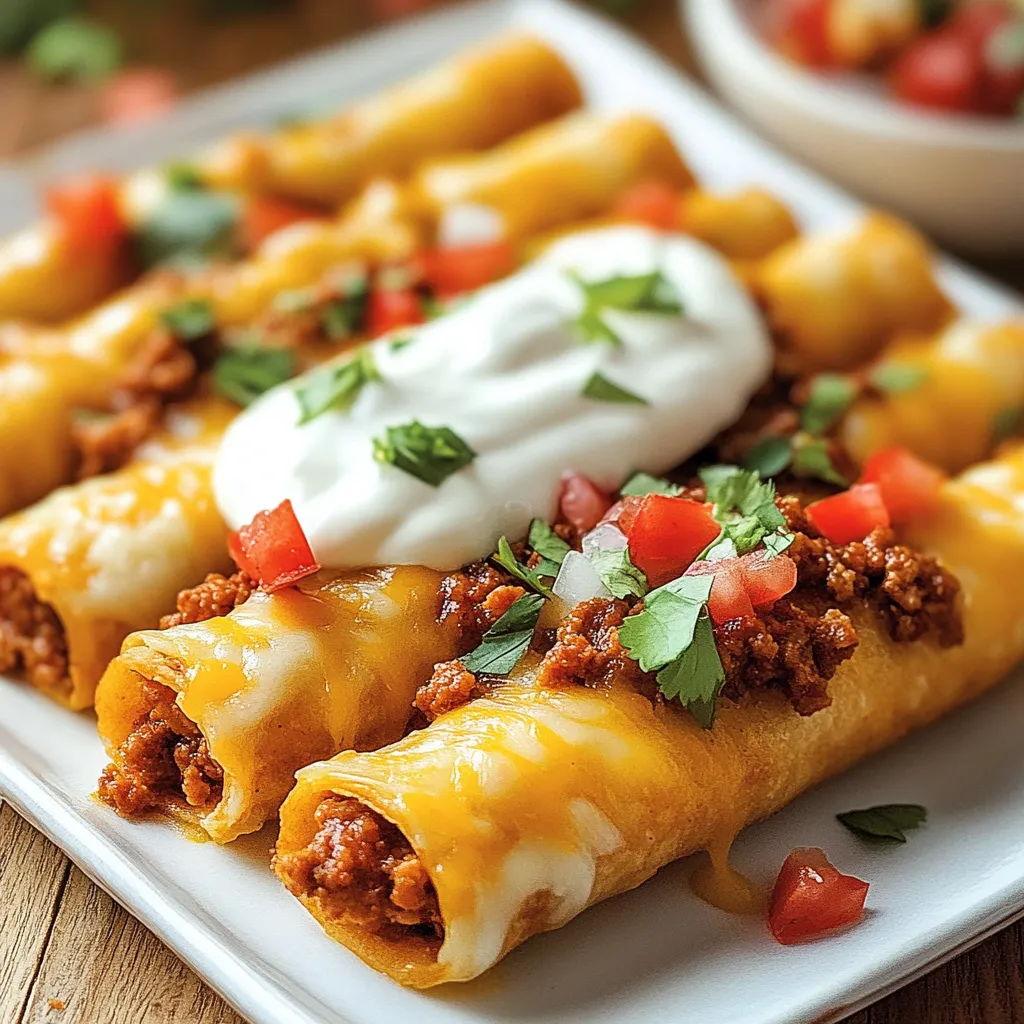
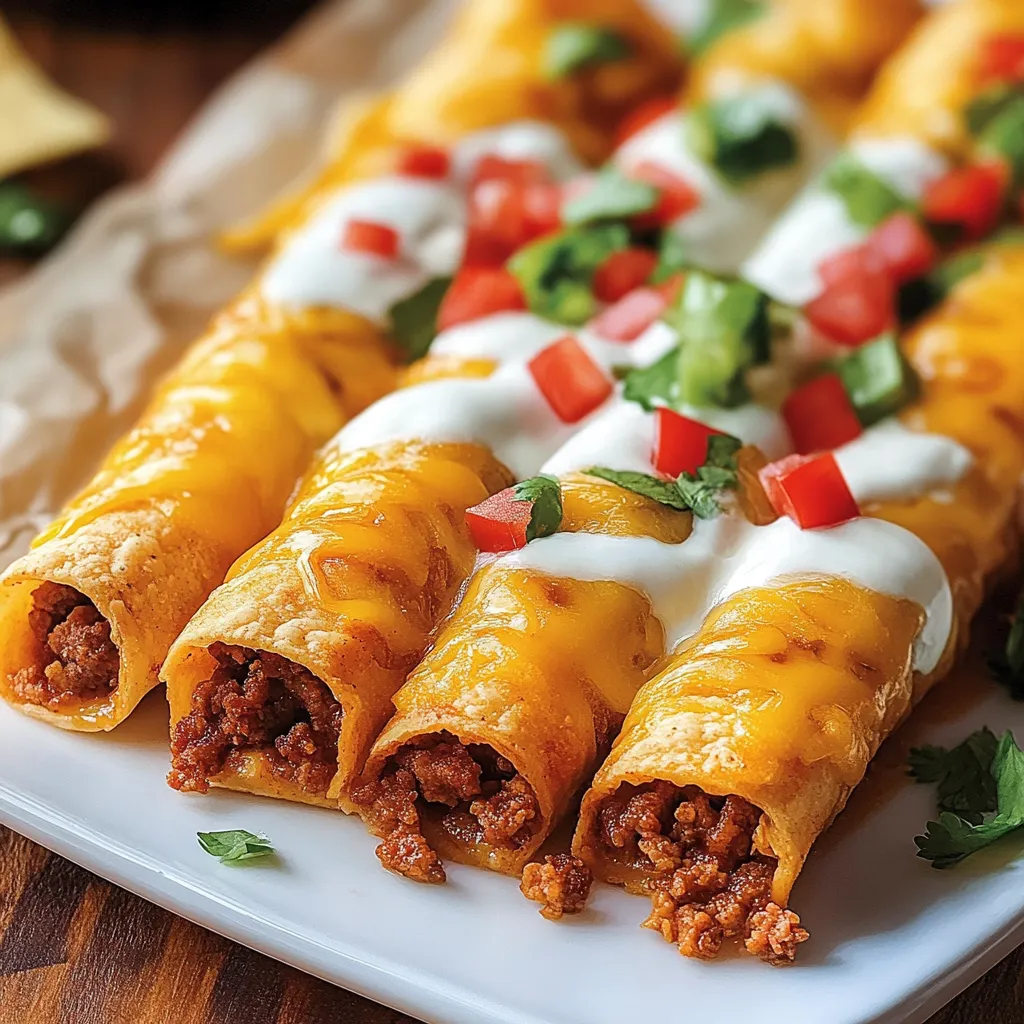
What To Serve With Them
These handy sticks go with all sorts of dips. I like to set out warm cheese sauce, chunky salsa, mashed avocado, and sour cream. For a full dinner, I add a fresh Mexican-style salad or some rice with beans on the side.
Ways To Switch It Up
I've tried lots of different versions over time. Throwing in chopped jalapeños adds some kick, while black olives bring a salty touch. For a morning twist, I sometimes swap in scrambled eggs and breakfast sausage instead of taco meat.
Fixing Common Problems
Don't stress if cheese escapes during baking. Those little cheese puddles turn into tasty crunchy bits. If your sticks are browning too fast, just cover them loosely with foil for the rest of the cooking time.
 Save it
These Gooey Taco Sticks have earned a top spot in my cooking lineup. The mix of seasoned meat, melted cheese, and that garlic butter creates something really special that kids and grown-ups both love. Whether they're dinner, packed in lunch boxes, or served at parties, they always vanish in no time.
FAQ sur la recette
- → Can I prepare them early?
- Yes, you can assemble them and keep them in the fridge until baking. Freshly baked tastes best though!
- → Can I swap the cheese?
- Absolutely. Use any cheese that melts nicely, like mozzarella or a Mexican cheese blend.
- → Why should the meat cool first?
- Letting it cool prevents the warm meat from making the dough tricky to handle or melting the cheese too soon.
- → Is chicken an option?
- For sure! Sub in ground chicken or turkey for something different.
- → How do I seal them properly?
- Be sure to tightly press the seams together to avoid the cheese leaking out.