 Save it
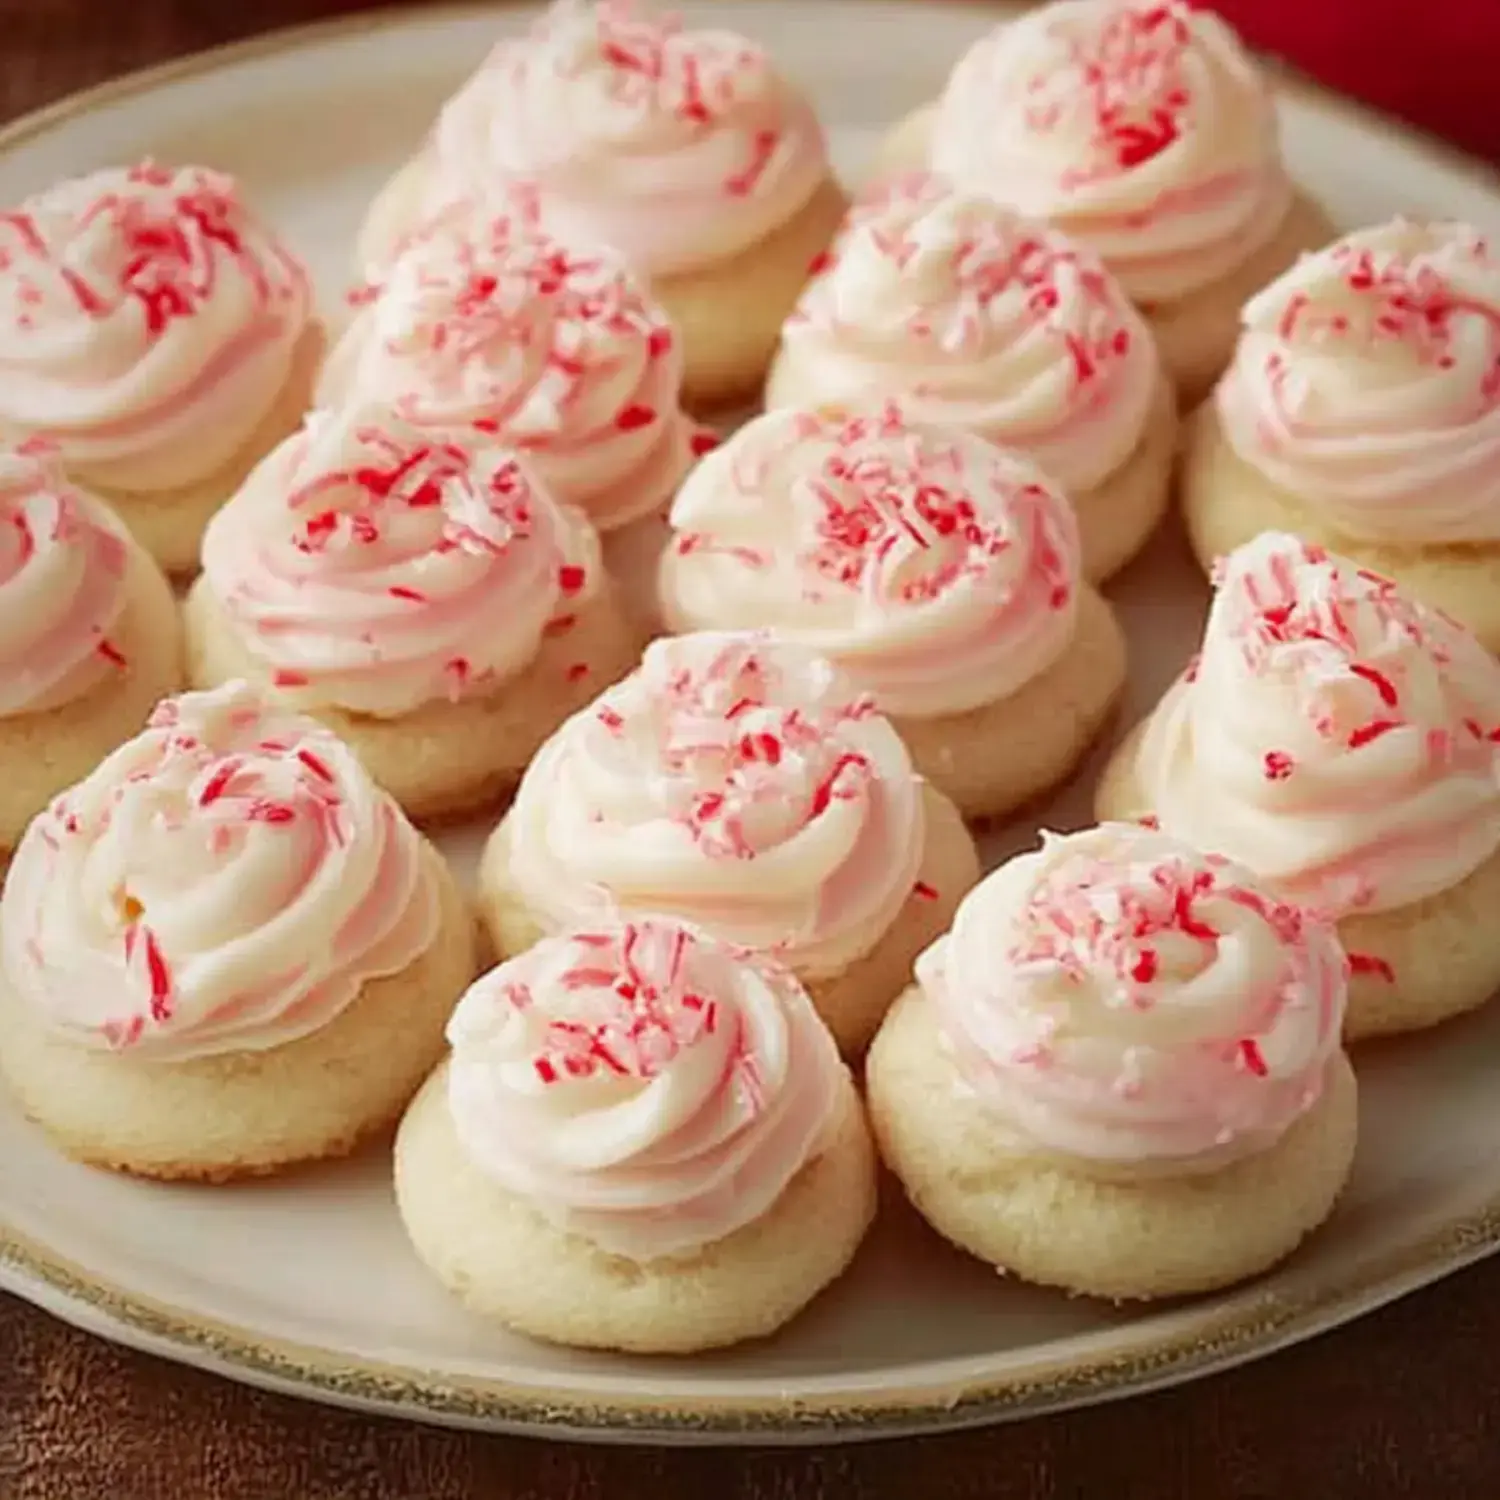
During the festive season, these Peppermint Meltaways bring a touch of wonder to my baking routine. They crumble softly in your mouth as the minty frosting and smashed candy bits create an amazing holiday treat. The mint smell wafting through my house always takes me back to childhood Christmases and candy cane memories.
What You'll Need
- Cornstarch: This gives them that famous dissolve-in-your-mouth texture.
- Flour: Make sure to sift it for extra lightness.
- Peppermint Extract: A small amount delivers just the right mint kick.
- Confectioners' Sugar: The key to making these cookies so soft.
- Butter: I go with unsalted so I can manage the taste myself.
- Crushed Peppermints: They bring color and a nice little crackle.
- Confectioners' Sugar: This makes your frosting incredibly velvety.
- More Peppermint: It strengthens that wonderful holiday taste.
- Milk: A tiny bit helps reach the ideal spreading thickness.
- More Butter: The foundation for that dreamy topping.
Baking Basics
- Prepare the Dough
- Beat butter and sugar together until they're fluffy, roughly 3 to 4 minutes. Add a hint of peppermint extract for that classic taste.
- Mix Dry Components
- Stir flour and cornstarch together, then slowly fold them into your wet mixture until you've got a nice soft dough.
- Cool and Form
- Let the dough cool in the refrigerator briefly, then shape it into one-inch balls ready for the oven.
Baking Time
- Cook the Cookies
- Warm your oven to 350°F and bake your chilled dough balls until the edges turn slightly golden, about 9 to 11 minutes.
- Let Them Rest
- Keep the cookies on the hot sheet for a couple minutes, then move them to a cooling rack until they're completely cool.
Finishing Touches
- Prepare the Frosting
- Beat butter until it's light and airy, then gradually mix in milk, peppermint extract, and confectioners' sugar until smooth. You can add a tiny bit of pink coloring for holiday spirit if you want.
- Top and Garnish
- Smear a thick layer of frosting on each cookie and sprinkle with crushed peppermint for shine and extra crunch.
Personal Tweaks
I sometimes switch the frosting for a thin glaze or try different flavor extracts for fun. I've cut them into holiday shapes before, but I really love the simple round ones best. The candy bits on top aren't just for looks they add such nice crunch and extra sweetness.
Storage Secrets
Store these treats in a sealed container and they'll stay yummy for many days. I often bake the cookies early and add frosting right before I serve them. If you need to plan way ahead, unfrosted cookies can be frozen up to three months just add frosting after they've thawed.
Smart Suggestions
- Plan to make cookies a day or two early so flavors can blend together nicely.
- Always make more than you think you'll need they vanish fast!
- Cool the dough for a short time to help them keep their shape.
- Tweak frosting thickness by adding tiny amounts of sugar or milk.
 Save it
FAQ sur la recette
- → Why do they melt in your mouth?
They're loaded with butter and cornstarch, making them ridiculously soft. Be gentle with the dough—it keeps the melt-in-your-mouth texture intact.
- → How far ahead can I make them?
You can freeze the plain cookies without frosting for up to three months. Decorate them with frosting and candy when you're ready to serve.
- → What's the point of chilling the dough?
Cold dough is easier to handle and ensures the cookies don’t spread too much while baking. It also helps enhance their texture.
- → Can I swap the peppermint flavor?
Sure! Almond or vanilla extracts could work, but the peppermint is what makes them feel extra festive.
- → How should I store these cookies?
Keep them fresh for up to 5 days in an airtight container at room temperature. Just note that the candy topping might lose some crunch over time.
