
 Save it
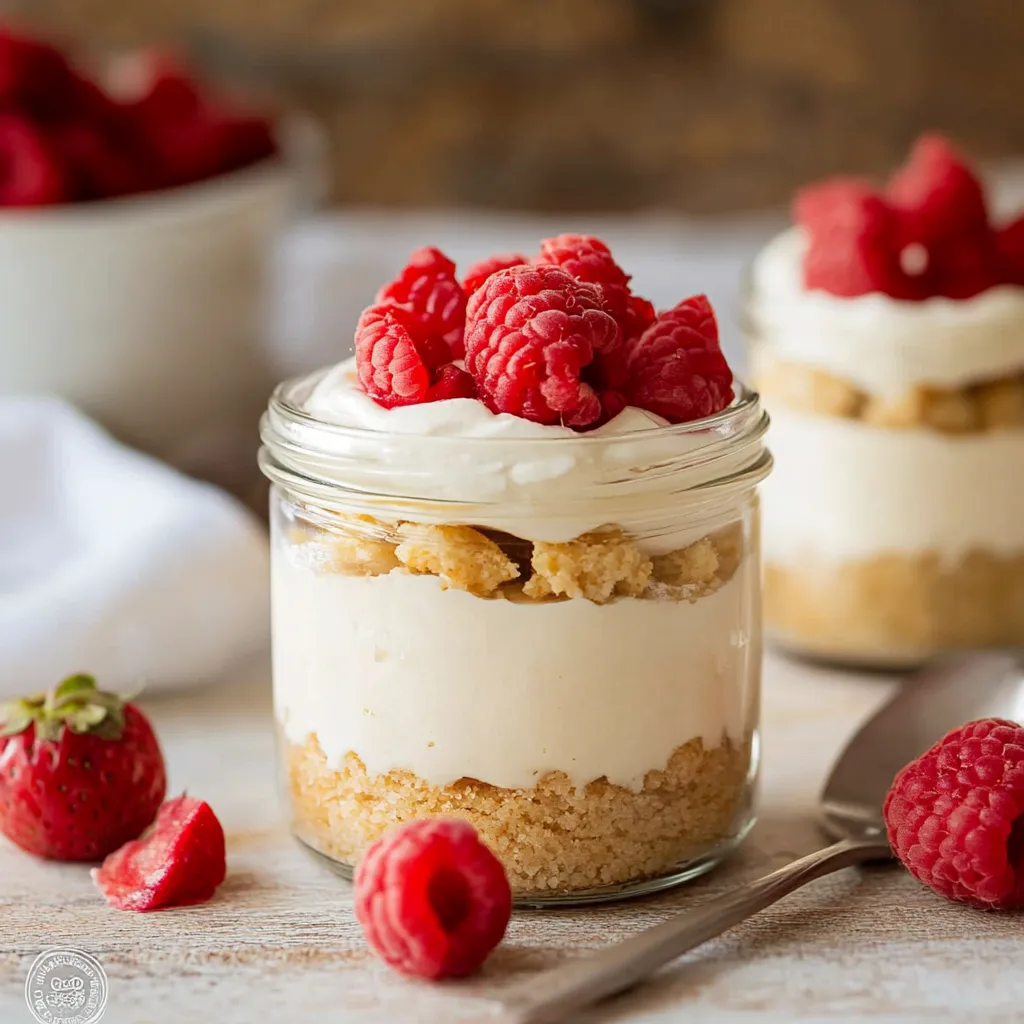
These silky protein pots deliver all the velvety goodness of traditional cheesecake but with knockout nutritional benefits. Blending cottage cheese and Greek yogurt creates a creamy, zesty dessert that tastes indulgent while packing a hefty 30g of protein in each serving. The stunning stacked appearance in separate jars helps manage your portions and makes them incredibly convenient to grab when you're dashing out.
I first created these while searching for post-workout snacks that wouldn't sabotage my fitness efforts. When I shared my initial batch with buddies, they were completely shocked to hear about the cottage cheese—the blender totally transforms its texture! Now they're my go-to treat for my health-conscious friends or whenever I want something sweet that aligns with my nutrition targets.
Essential Ingredients
- 2 cups cottage cheese (2% MF): Creates the velvety foundation packed with protein.
- 4 tbsp maple syrup: Adds natural sweetness that cuts through the tang.
- 3 cups full fat plain Greek yogurt: Provides creaminess and extra protein punch.
- 2 cups crushed graham crackers: Creates that must-have cheesecake base everyone craves.
- 1 cup berries: Brings freshness, vibrant color, and natural sweetness.
Basic Instructions
- Blend Your Cottage Cheese:
- Toss cottage cheese into your food processor and run it for 1-2 minutes until perfectly smooth. This step is crucial—proper blending eliminates all those tiny curds and creates a silky mixture nobody would recognize as cottage cheese. After it's smooth, add the maple syrup and blend again until fully combined. You're aiming for soft, slightly sweetened, and absolutely lump-free.
- Create The Cheesecake Mixture:
- Transfer your processed cottage cheese to a mixing bowl and gently fold in the Greek yogurt using a spatula. Mix just until combined—overmixing can make everything too loose. The yogurt delivers that signature cheesecake zing while keeping the texture airy and boosting protein content. This combination hits the sweet spot between decadent and light.
- Assemble Your Jars:
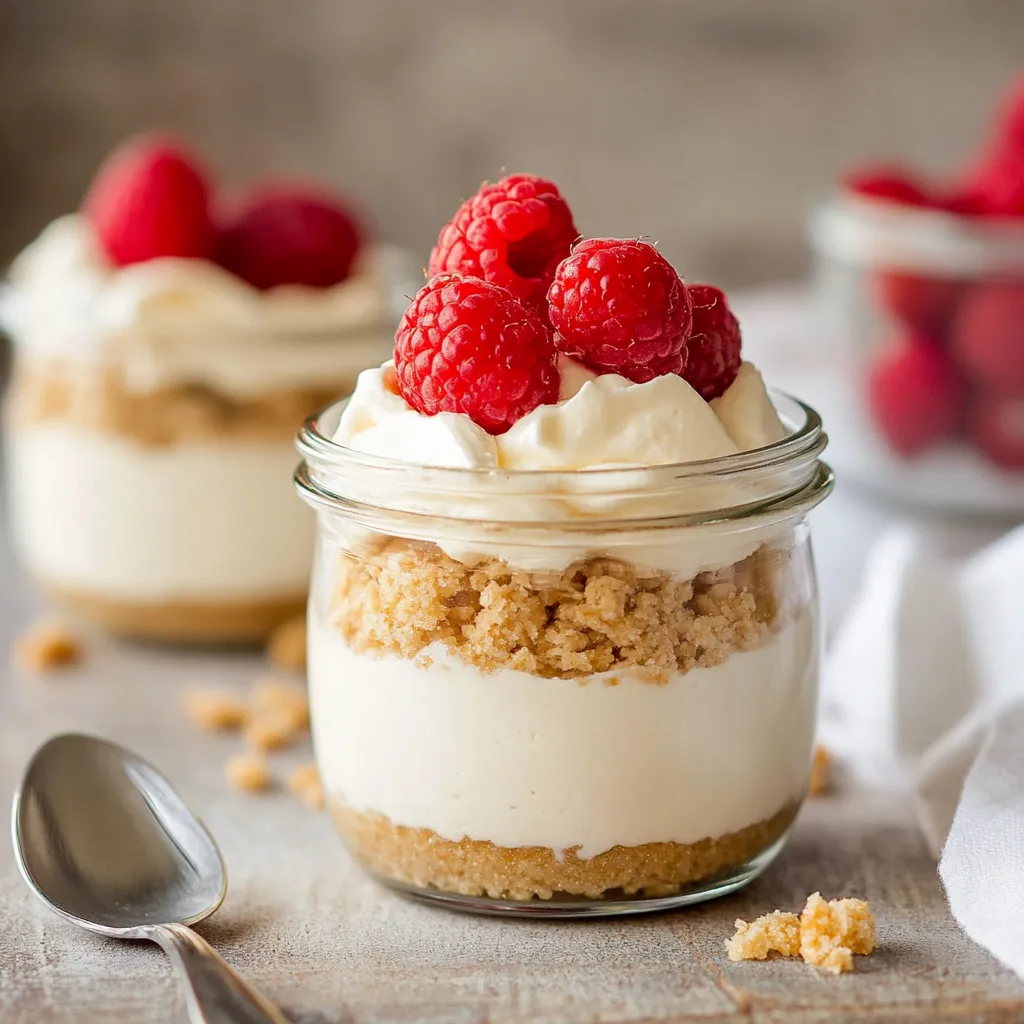
- Begin constructing by adding about 2 tablespoons of graham cracker bits to each jar bottom. Lightly tamp them down using a spoon back. Next, add a generous spoonful of your cheesecake blend (roughly 3-4 tablespoons). Sprinkle a thin layer of graham crackers, then add a few fresh berries. The fruit provides sweetness, color pop, and juicy contrast against the creamy layers. Finish with a final dollop of cheesecake mixture on top.
- Add Final Touches:
- Give your jars a pretty finish. Scatter a few more graham cracker crumbs and place a couple berries on the surface. For extra appeal, add a tiny mint sprig or dust with a touch of cinnamon. They can be eaten immediately, but they taste even better after chilling for at least 30 minutes, allowing flavors to meld and everything to set properly.
 Save it
I've discovered that a touch of vanilla bean paste works far better than liquid extract in these pots—those tiny dark flecks look stunning against the white mixture and smell wonderful. In summer months I whip up weekly batches using whatever fresh berries look best at my neighborhood market. My teen daughter usually avoids anything labeled "high protein" but regularly requests these and sometimes even packs them for her school lunches.
Flavorful Twists
The beauty of this simple base is how easily you can change it up. You can totally customize it to match your preferences or what's available. For chocolate fans, stir a tablespoon of cocoa powder into your cottage cheese mixture. If you like crunch, try layering in some of your favorite nut butter or sprinkle in toasted chopped nuts between sections. Craving something more exotic? Switch berries for diced mango or pineapple and add a hint of coconut extract to your cheesecake blend.
Convenient Preparation
These jars come to the rescue during busy weeks when you need nutritious snacks at your fingertips. The cheesecake mixture stays fresh in your fridge for 3 days. For optimal results, you can prepare the blend ahead and store it separately, then quickly stack the jars when needed. This keeps your graham crackers crisp. Or if you're really short on time, just assemble everything in one go—the crackers will soften slightly into an almost-crust texture that many people actually enjoy more.
 Save it
My first attempt at this flopped because I didn't process the cottage cheese enough and ended up with tiny lumps. Now I make sure to blend until completely smooth, pausing to scrape down the processor sides with a spatula. What I love most about these pots is how they transform ordinary cottage cheese—often seen as bland diet food with a texture many people hate—into something genuinely delicious that supports fitness goals. These jars prove you don't need to sacrifice flavor when eating healthier.
FAQ sur la recette
- → What else can I use instead of cottage cheese?
- Cottage cheese gives a protein boost, but you can switch it with ricotta, which still has protein. For a richer taste, go for cream cheese, but it has more fat and less protein.
- → How long can I keep these in the fridge?
- They’ll stay fresh in sealed jars or airtight containers for up to 3-4 days. If you’re prepping ahead, add the crackers just before serving so they don’t get soggy.
- → What can I replace maple syrup with?
- You’ve got options! Honey can work just as well, or you can try alternatives like monk fruit syrup for less sugar. Agave nectar is another idea if you like it sweet but slightly different.
- → What kind of berries should I use?
- Go with whatever berries you have on hand—blueberries, raspberries, strawberries, or even blackberries. Fresh or thawed both work. You can also change it up with diced peaches or cherries.
- → How do I make these without dairy?
- Swap the cottage cheese and Greek yogurt for coconut-based yogurt or non-dairy cream cheese. Just make sure to check if your graham crackers are free of dairy ingredients too.