 Save it
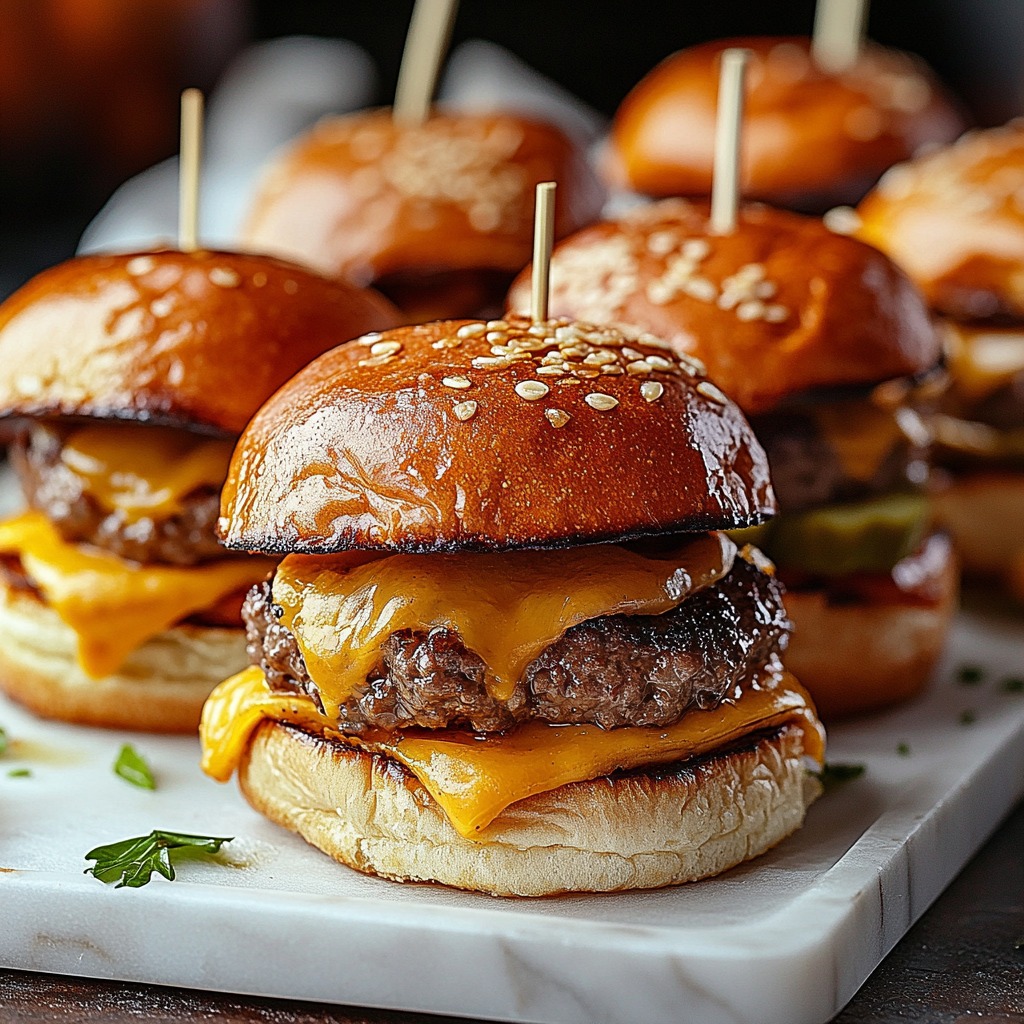
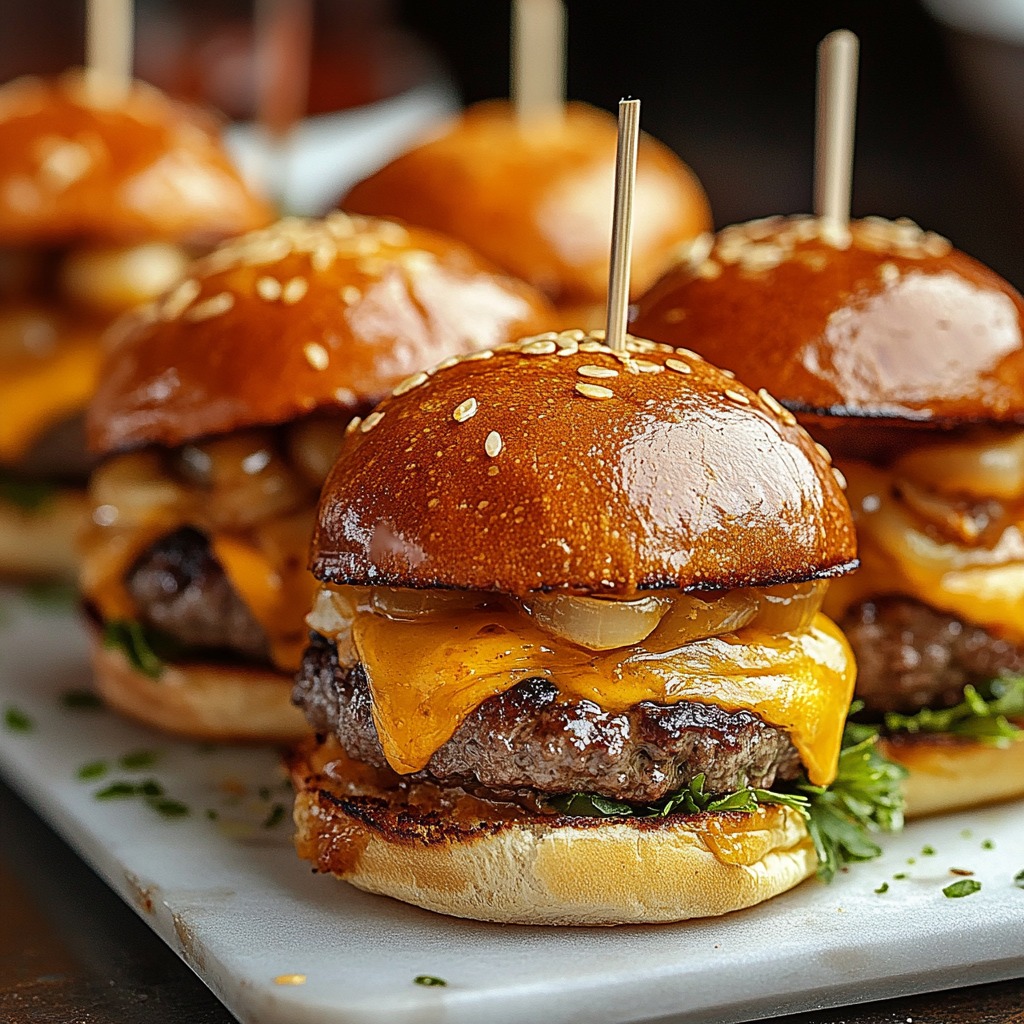
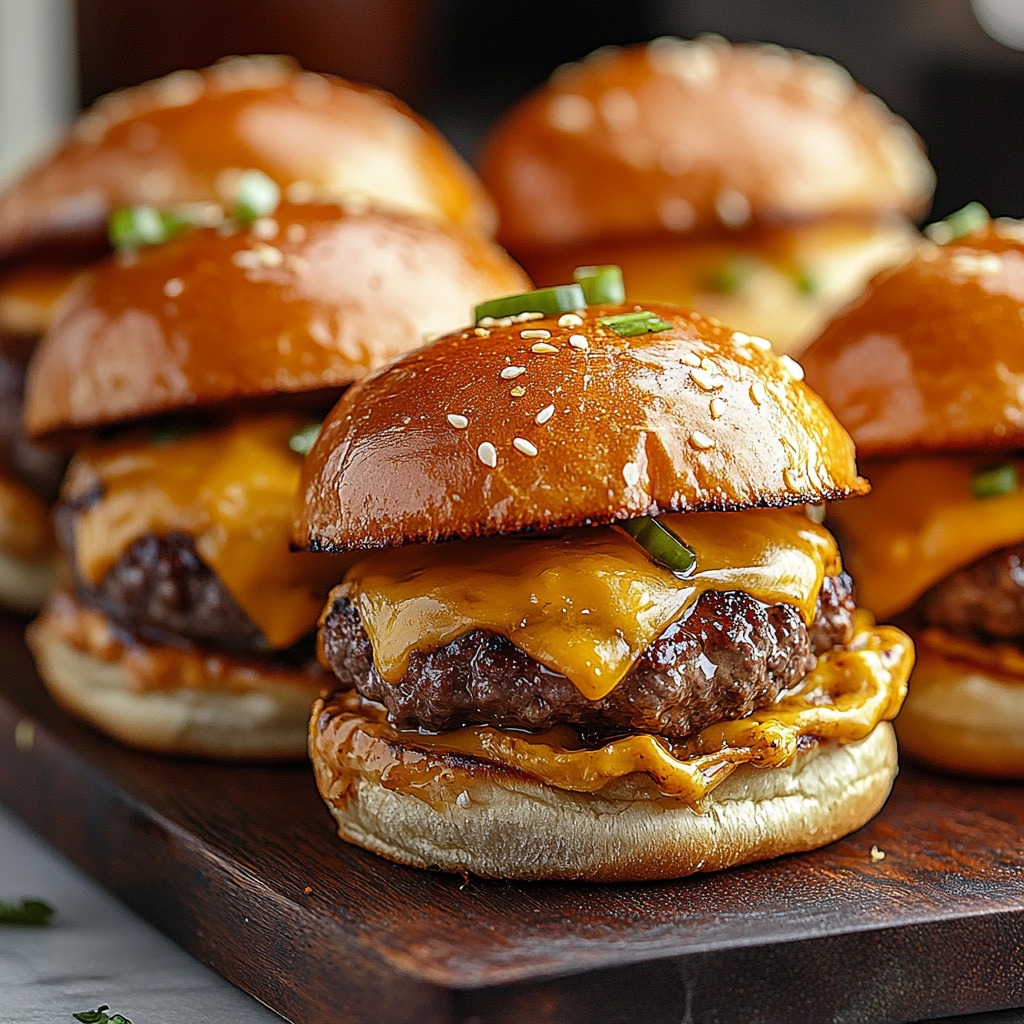
Picture sinking your teeth into a juicy mini burger, with gooey cheese mixing with tangy sauce, all nestled in a warm, buttery bun. These Cheeseburger Sliders aren't just snack food - they're a showstopping treat that turns ordinary gatherings into memorable events. Through countless attempts at making them perfect, I've found that success comes down to the little things: the proper fat content in your beef, and that knockout sauce everyone will beg you to share.
Last Sunday, I whipped these up for my kid's team party after their big game. You should've seen their excitement when I walked in carrying the hot tray of sliders. Before I knew it, they were coming back for more. What made them so good? Taking care with the meat's flavor and getting that cheese melted just perfectly.
Essential Ingredients
- Ground beef (80/20 blend): This mix delivers the best taste and juiciness. Going too lean will leave you with dry sliders
- Hawaiian rolls: The hint of sweetness works wonders against the meaty flavor. I've sampled lots of alternatives but these can't be beat
- Sharp cheddar cheese: It gets all gooey while adding just enough bite. Ready-sliced is fine, but shredding it yourself makes for better melting
- Fresh dill pickles: They add snap and zing to cut the richness. I chop them tiny so they spread throughout
- The special sauce components (mayo, ketchup, mustard): Combined, they create that unmistakable flavor you crave from your neighborhood burger spot
Step-By-Step Preparation
- Prepare the Meat:
- Mix beef with spices using a light touch. Don't handle it too much or you'll end up with tough patties. Shape into 12 same-sized balls. Flatten each into a 2-inch patty, making a small depression in the middle.
- Cook the Patties:
- Warm your pan on medium-high. Cook patties in small groups, giving them space. Flip after 3-4 minutes for perfect doneness. Add cheese during the final minute to melt.
- Prepare the Buns:
- Cut rolls across the middle, keeping them attached. Stir together mayo, ketchup, and mustard for your sauce. Coat both halves of buns with sauce. Sprinkle extra cheese on the bottom pieces.
- Assembly Process:
- Set hot patties on lower buns. Scatter chopped pickles and optional extras. Cover with top buns. Push down softly to blend everything together.
- Final Baking:
- Cover loosely with foil. Heat at 375°F for 8-10 minutes. Take off foil for the last 2 minutes to make tops crispy.
 Save it
Getting Just Right Sized Burgers
Finding the perfect patty size wasn't something I got right away. Eventually I learned that roughly 1.3 ounces of beef makes the best match for the buns. A handy tip I picked up when I started making sliders was to form them a bit wider than the rolls since they'll shrink while cooking. Now each burger fits its bun perfectly, giving everyone the right amount in every bite.
Watch Your Heat Closely
My cooking changed forever when I started using my meat thermometer. Cooking to 160°F keeps everything safe but still juicy. I've noticed that taking them off the heat at 155°F and letting them sit for a minute lets the cooking finish naturally without drying out.
Stacking In The Right Order
Just like building a tiny tower, how you stack your ingredients really counts. I start by putting cheese on the bottom roll (it stops the sauce from making things soggy), then the burger, more cheese, pickles, and sauce on top. This way, every mouthful gives you all the flavors working together.
Prep Work Saves Time
These little burgers are great for parties because you can get so much ready ahead of time. I often shape the meat, mix up the sauce, and chop all my toppings in the morning, keeping everything in the fridge until needed. This makes putting them together super quick when company shows up.
Cooking For Big Groups
When I'm feeding lots of people, I've figured out it's best to work with 24 sliders at once. Making more than that gets tricky if you want even cooking and good assembly. Setting up your workspace with everything easily reachable makes the whole process much more fun and less stressful.
Saving Some For Later
I was thrilled when I found out these taste great after freezing. I wrap each cooked slider by itself in foil, then stuff them in a freezer bag. They warm up nicely in about 20 minutes in a 350°F oven, which makes them perfect when you need a quick dinner on busy nights.
 Save it
These tiny cheeseburgers have become my favorite thing to serve at parties, bringing joy and creating lasting memories around so many tables. They show that good things really do come in small packages. Whether you're serving hungry kids after sports or hosting friends for a casual lunch, these sliders always hit the spot. The mix of juicy beef, melty cheese, and that knockout sauce creates mini burgers that taste just like the ones from your favorite restaurant.
FAQ sur la recette
- → Can I prep patties early?
- Sure thing! Cook and store them a day ahead, then reheat before putting them together.
- → How do I keep them hot?
- Wrap them with foil after baking so they stay warm while serving.
- → Can you freeze cooked patties?
- You can! Just make sure to assemble buns and toppings fresh for the best experience.
- → Any other topping ideas?
- Absolutely—try adding crispy bacon, caramelized onions, or even a slice of pepper jack cheese.
- → Can I make these on a grill?
- Totally! Grill the patties and buns over open flames for a smoky touch.
