 Save it
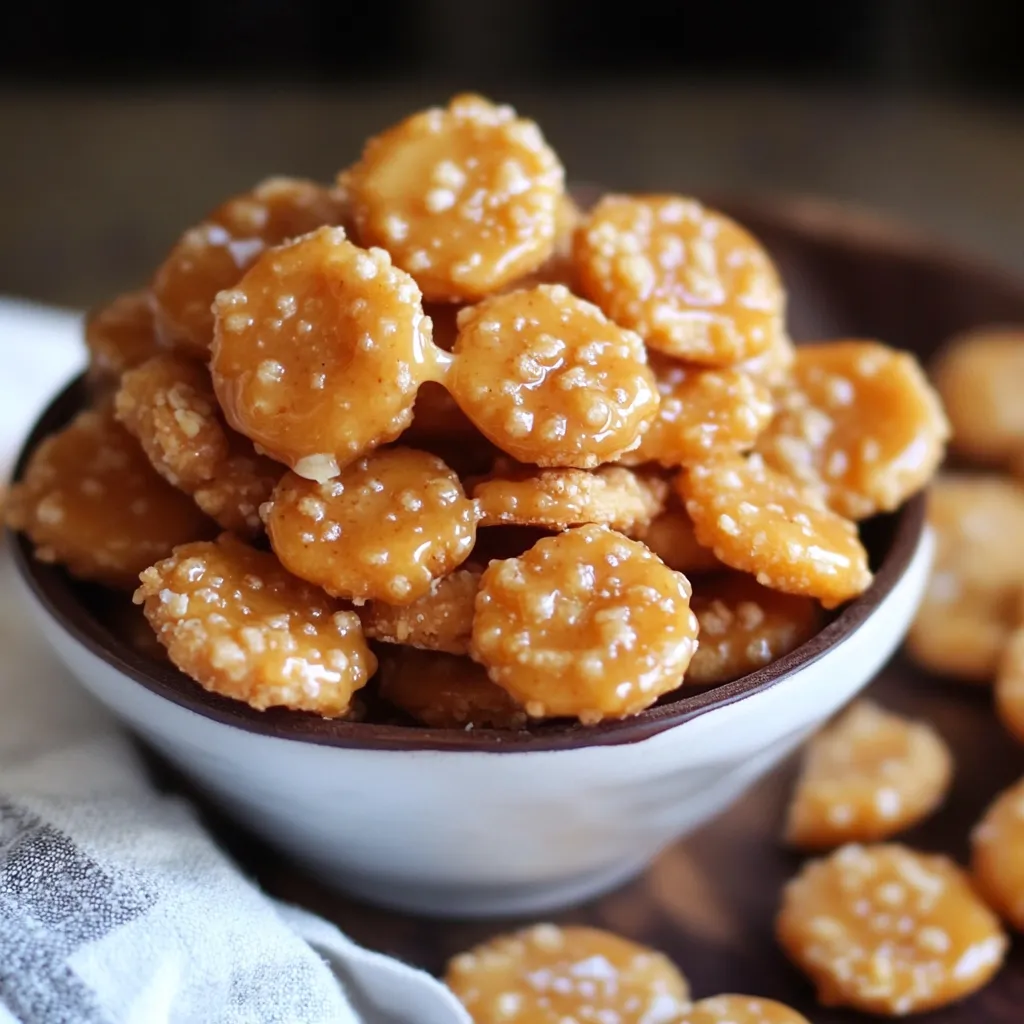
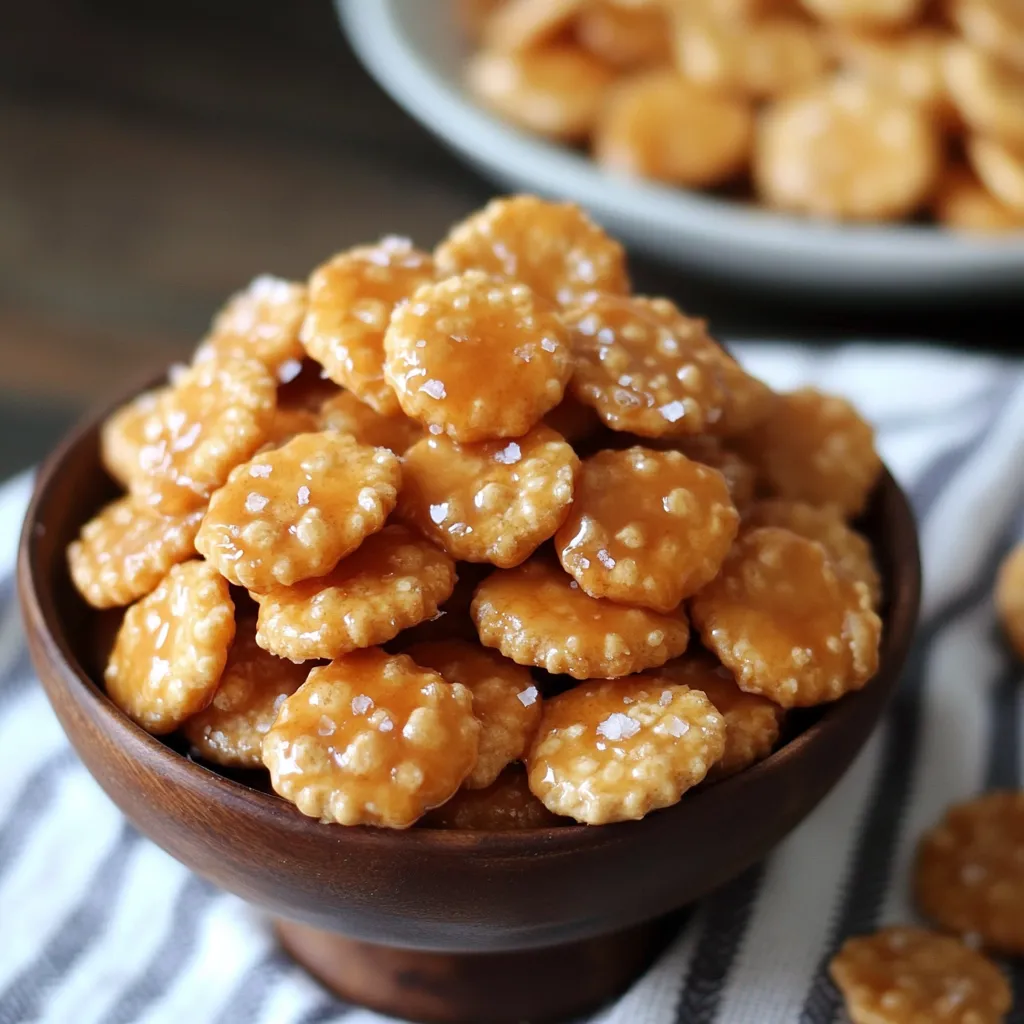
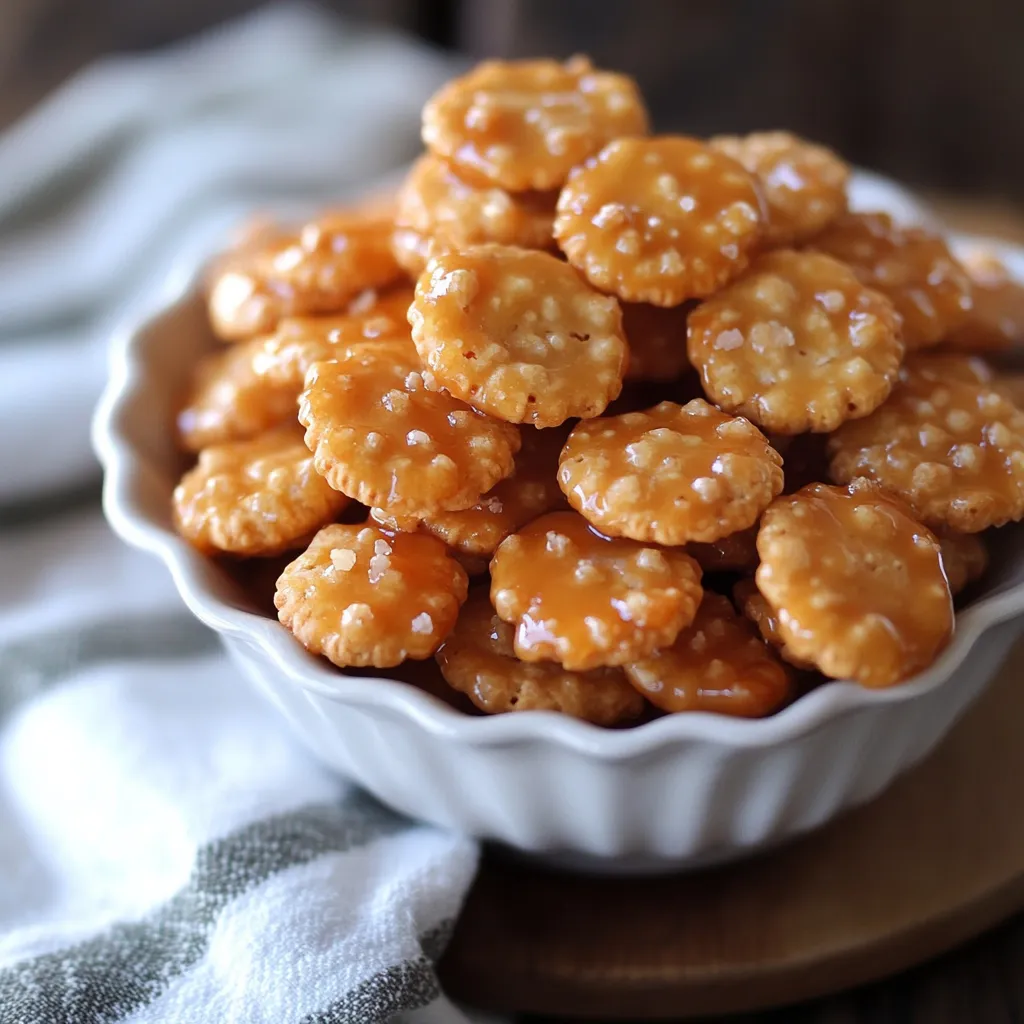
Sweet meets salty in these mouthwatering Salted Caramel Cracker Bites. Using just a few kitchen basics, you can turn simple oyster crackers into a snack that'll vanish faster than you can whip them up.
I brought these to a Christmas party last year and the bowl was empty in minutes. The magic happens when you carefully turn butter and brown sugar into a golden coating that makes plain crackers taste incredible.
Key Ingredients
- Oyster Crackers: They're tiny but tough enough to hold up to the caramel without falling apart
- Unsalted Butter: This lets you control exactly how salty your final snack will be
- Brown Sugar: Go with dark brown for a richer caramel flavor
- Pure Vanilla Extract: Just a tiny bit makes the caramel taste so much better
- Ground Cinnamon: A small dash brings out the caramel's cozy flavor
- Sea Salt: Sprinkle those flaky bits on top for little bursts of saltiness
Step-By-Step Directions
- Getting Ready:
- Heat your oven to 350°F on the dot. Put parchment on your baking sheet with some hanging over the sides for easy grabbing later. Lay crackers out so they don't stack on each other. Have everything measured before you start the caramel because you'll need to move fast.
- Making The Caramel (5-7 minutes):
- Gently melt the butter on medium heat but don't let it brown. Put in the brown sugar and keep stirring so it heats evenly. Wait for bubbles all across the surface. You want it to turn a deep golden color and get a bit thicker. Take it off the heat as soon as it's the right color.
- Covering The Crackers (3-5 minutes):
- Pour your caramel all over the crackers in one smooth motion. Mix with a rubber spatula to coat everything. Work fast because the caramel starts hardening quickly. Spread it all out before it cools. Add sea salt while everything's still hot.
- Oven Time (7-9 minutes):
- Put the tray on the middle rack. Keep an eye on it after 6 minutes since caramel can burn fast. Look for an even golden brown color. Take it out when bubbles appear across the whole tray. Let it sit for 2 minutes.
- Final Touches:
- Add more salt if you want. Cool them completely at room temp. Once they've hardened, break them into chunks. Right away, put them in an airtight container.
 Save it
I came up with this recipe during a midnight snack hunt when my pantry was nearly empty. What started as just playing around has turned into the treat everyone asks me to bring. I found out that getting the caramel to exactly the right color before adding the crackers is what makes these so good.
Watching Your Heat
Getting these bites right depends on temperature. Too hot and you'll burn the caramel; too cool and it won't spread right. I've learned that keeping your stove at medium and looking for visual clues works better than just following a timer.
Creating That Perfect Crunch
It's amazing how these crackers change. While baking, the caramel soaks in a bit but keeps the outside crispy. You end up with a bite that crunches perfectly without being too hard or sticky.
Tricks From The Pros
- Always use real butter, not margarine or substitutes, or the caramel just won't work
- Keep a small wet brush nearby to wipe away any sugar crystals that form
- Put parchment paper in your storage container so nothing sticks
- Better to make two small batches than one big one
Keeping Them Fresh
I've noticed these stay crunchier in glass containers compared to plastic ones. Put parchment between layers so they don't stick together, and make sure they're totally cool before closing the lid. In damp weather, throw in a few grains of rice to soak up extra moisture.
Packaging As Presents
These make such nice gifts with a bit of extra effort. I like using mason jars with parchment inside and a little note saying 'best eaten within a week.' During the holidays, sometimes I'll add melted white chocolate drizzled on top with some colorful sprinkles.
Tasty Twists
- Mix in some toasted pecans while the caramel's still hot for a praline flavor
- Try adding a tiny bit of cardamom for a fancy upgrade
- Drizzle with dark chocolate and orange zest for special times
- Switch vanilla for maple flavoring in the fall
Fixing Common Problems
If your caramel looks grainy, it probably crystallized while cooking. To stop this from happening, don't stir too hard and make sure all the sugar melts before it boils. If your bites get sticky after storing them, pop them in a 300°F oven for 5 minutes to crisp them up again.
 Save it
These Salted Caramel Cracker Bites show what I love most about cooking at home - taking everyday ingredients and turning them into something amazing just by paying attention to the little details. Whether I'm making them for myself or a party, they always make people smile and ask how I made them.
FAQ sur la recette
- → How do I keep them fresh?
- Pop them in a sealed container to stay crispy for days.
- → Can I make a gluten-free option?
- Yep, swap oyster crackers for gluten-free ones from the store.
- → How do I know when my caramel is done?
- Let it boil briefly and cook for a few minutes until it thickens.
- → Why is lining the pan important?
- It stops the caramel from sticking and makes cleaning easy.
- → When can I break them into clusters?
- Wait until everything's cooled down so the caramel firms up.
