
 Save it
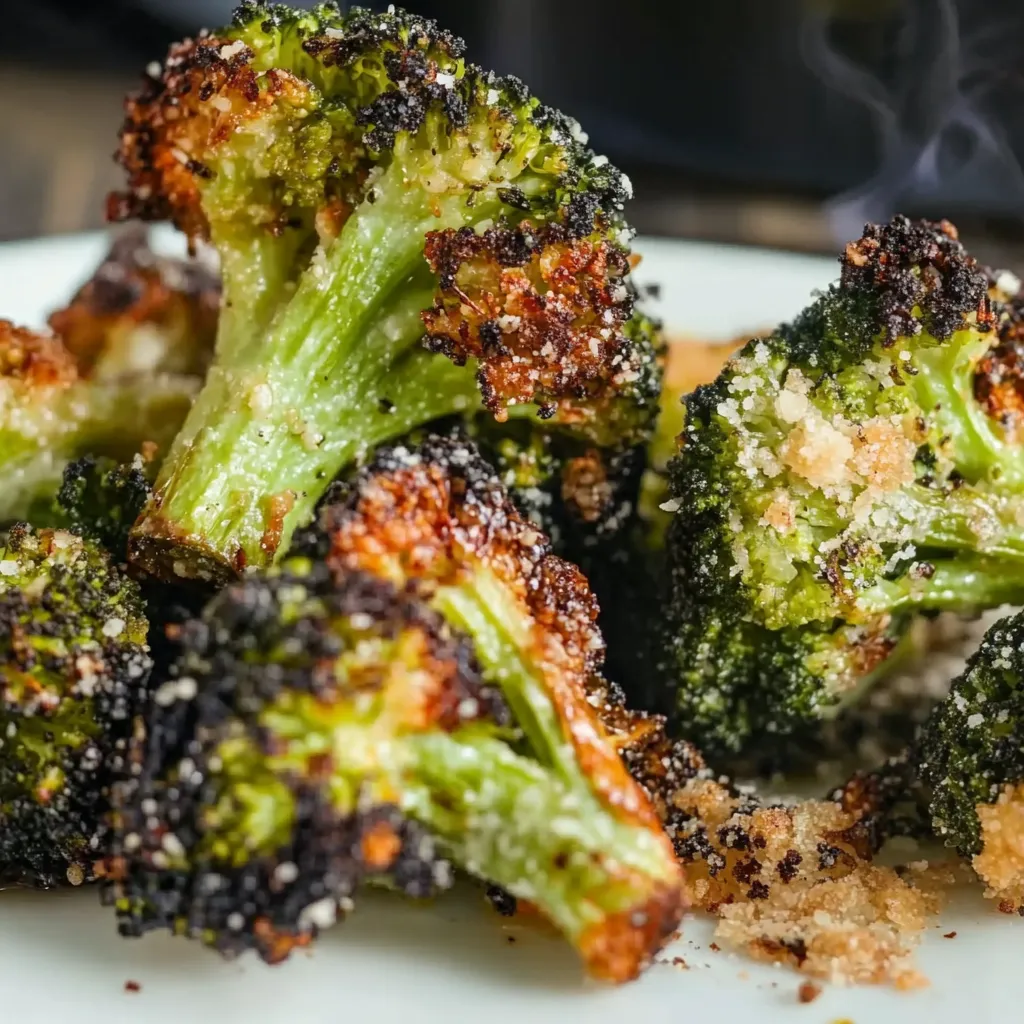
Ordinary broccoli turns into a mouthwatering side when you cook it this way, giving you crunchy edges and soft stems full of garlic and parmesan flavors. Cooking at high heat brings out broccoli's natural sweetness while creating a golden, crunchy outer layer that makes this veggie the highlight of any dinner.
I first tried making this because I was desperate to get my family to eat broccoli. As soon as those crunchy, garlic-smelling pieces came out of my oven, I knew steamed broccoli was gone from our menu forever.
Key Ingredients Guide
- Broccoli: Go for bright, deep green heads with compact florets and strong stems - skip any with yellow spots or mushy parts.
- Parmesan Cheese: Grate it yourself - the stuff in containers won't melt or crisp up right.
- Olive Oil: Pick a good extra virgin kind for better taste and browning.
- Fresh Garlic: Find full, weighty heads with snug cloves - avoid any with sprouts or wrinkles.
- Italian Seasoning: A nice mix adds those Mediterranean tastes we love.
- Garlic Powder: Brings an extra rich flavor that works well with fresh garlic.
- Kosher Salt: Its bigger grains pull moisture out so you get better crispiness.
Crafting Delicious Roasted Broccoli
- Step 1 - Set Everything Up:
- Put oven rack in bottom third for better air flow. Cover baking tray with parchment for less mess and nicer browning. Get all your stuff ready before you start.
- Step 2 - Cut Your Broccoli Right:
- Make florets the same size so they cook evenly. Pat them totally dry with kitchen towels to help them get crispy. Cut stems into matching pieces - they taste just as good as the tops.
- Step 3 - Add Flavors Carefully:
- Mix with oil first to coat everything. Sprinkle seasonings bit by bit while mixing for even coverage. Use your fingers to rub seasonings into all the nooks.
- Step 4 - Lay It Out Smart:
- Leave room between pieces so they don't steam. Put cut sides facing down for more caramelization. Keep everything in one layer - crowding stops crispiness.
- Step 5 - Watch While Cooking:
- Check after cooking for 10 minutes. Turn pan around and flip pieces for even color. Look for golden edges and test if stems are tender.
 Save it
As a kid, my mom always taught me to use every bit of our veggies. Now I feel proud watching my kids gobble up these crunchy stems, carrying on those kitchen lessons.
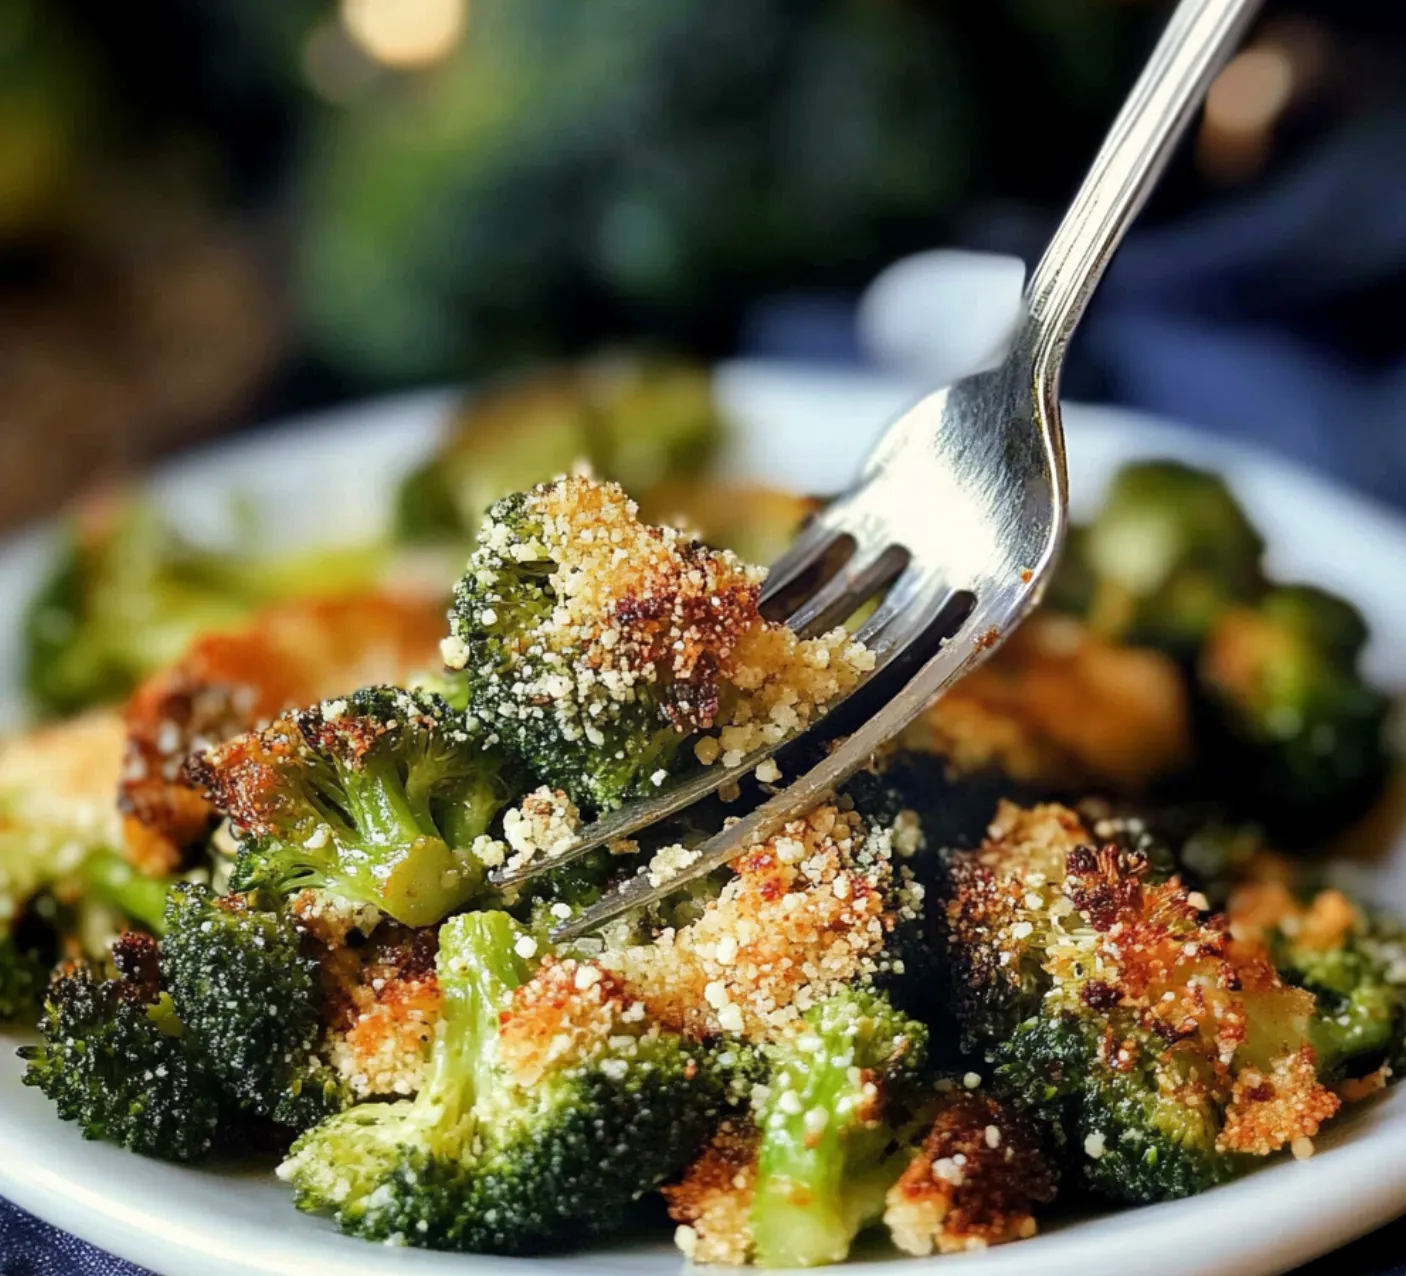
This roasted broccoli works with almost anything. It's great with simple weeknight pasta but fancy enough for dinner parties too.
For our hectic family schedule, this recipe's been a game-changer. We use leftover crunchy florets in egg dishes, grain bowls, or cold salads the next day.
The recipe changes with the seasons perfectly. During hot months, I often cook it in a cast-iron pan on the grill so the kitchen stays cool.
Having friends over got easier once I learned I could partially roast the broccoli early in the day and finish it right before we eat.
 Save it
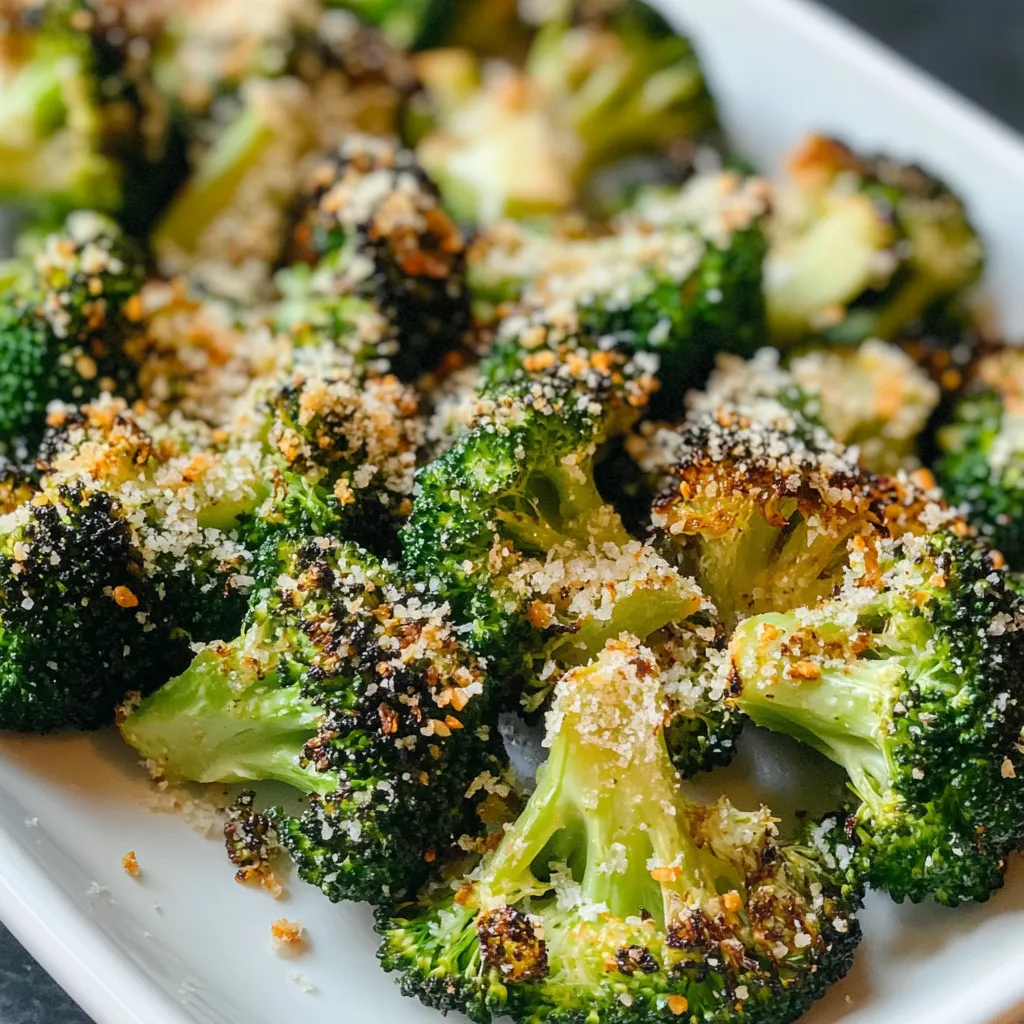
After making this roasted broccoli countless times, I'm still surprised how such a basic cooking method can make something so tasty. It's become more than just something to cook - it reminds me that good food doesn't need fancy techniques or weird ingredients, just care and respect for what you're working with.
FAQ sur la recette
- → Why put the rack near the bottom of the oven?
- It helps brown the veggies evenly and avoids burning the tops while the stems soften.
- → Why turn the broccoli while roasting?
- It lets all sides get crispy and keeps it from burning.
- → How do I know it’s ready?
- Look for golden edges, and check that a knife slides easily into the stems.
- → Can I prep this ahead?
- Eat it hot and crispy right away for the best taste, but leftovers can be reheated.
- → Why use two kinds of garlic?
- Fresh garlic gives bold flavor, and garlic powder spreads evenly for extra depth.