
 Save it
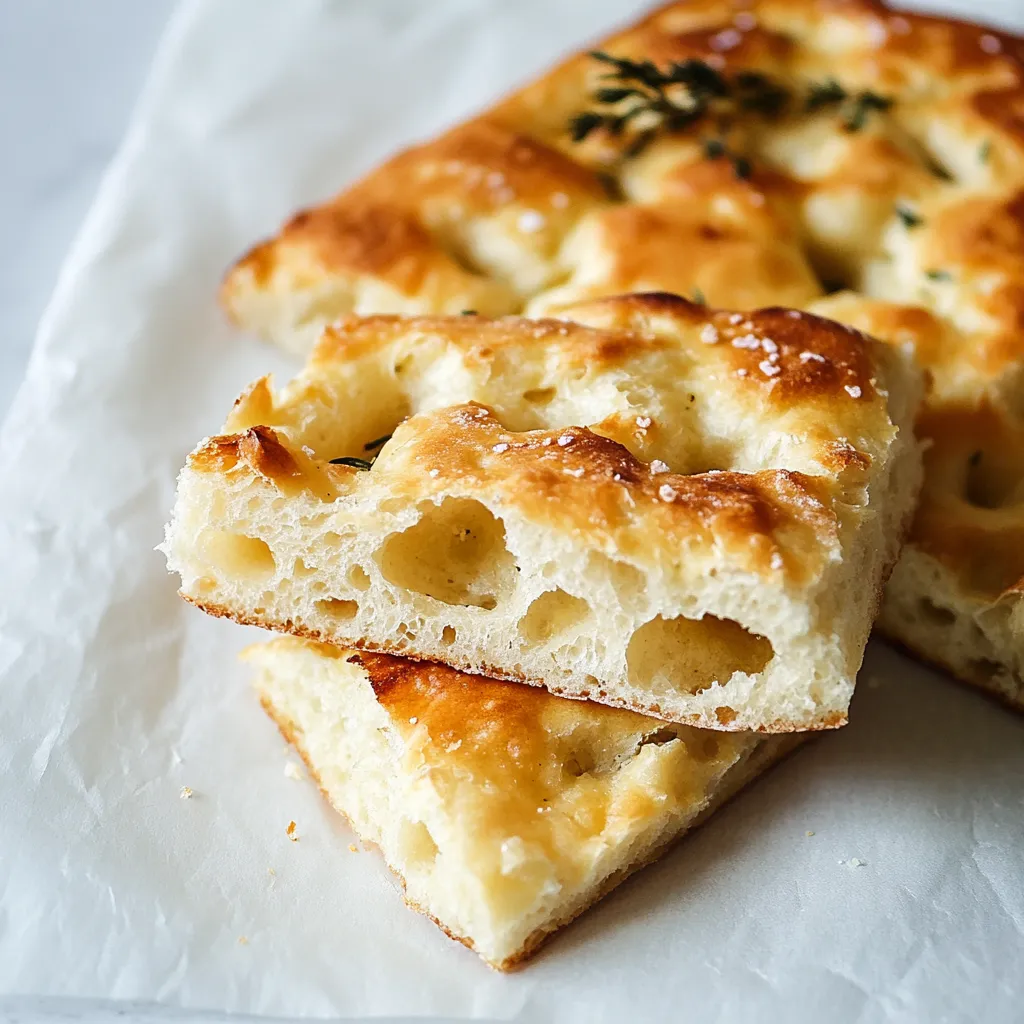
The smell of warm focaccia filling the house takes me back to wandering through small towns in Italy. This simple bread, known for its dented top and brown crust, has become what I always make for family meals and get-togethers – it's always gone within moments after I take it out.
I've tried making this recipe so many times, and I found that letting the dough rise slowly creates those awesome bubbles that make focaccia so good. My neighbors now show up on days they know I'm baking, pulled in by the wonderful smell.
Key Ingredient Breakdown
- Bread Flour: Go for unbleached bread flour to get that great chewy bite. It's got more protein that helps make all those nice air bubbles
- Extra Virgin Olive Oil: Don't cheap out here – its taste comes through in every mouthful
- Active Dry Yeast: Keep it in a sealed container in your fridge so it stays fresh and works well
- Sea Salt: Use the flaky kind for better flavor and that nice crunch on top
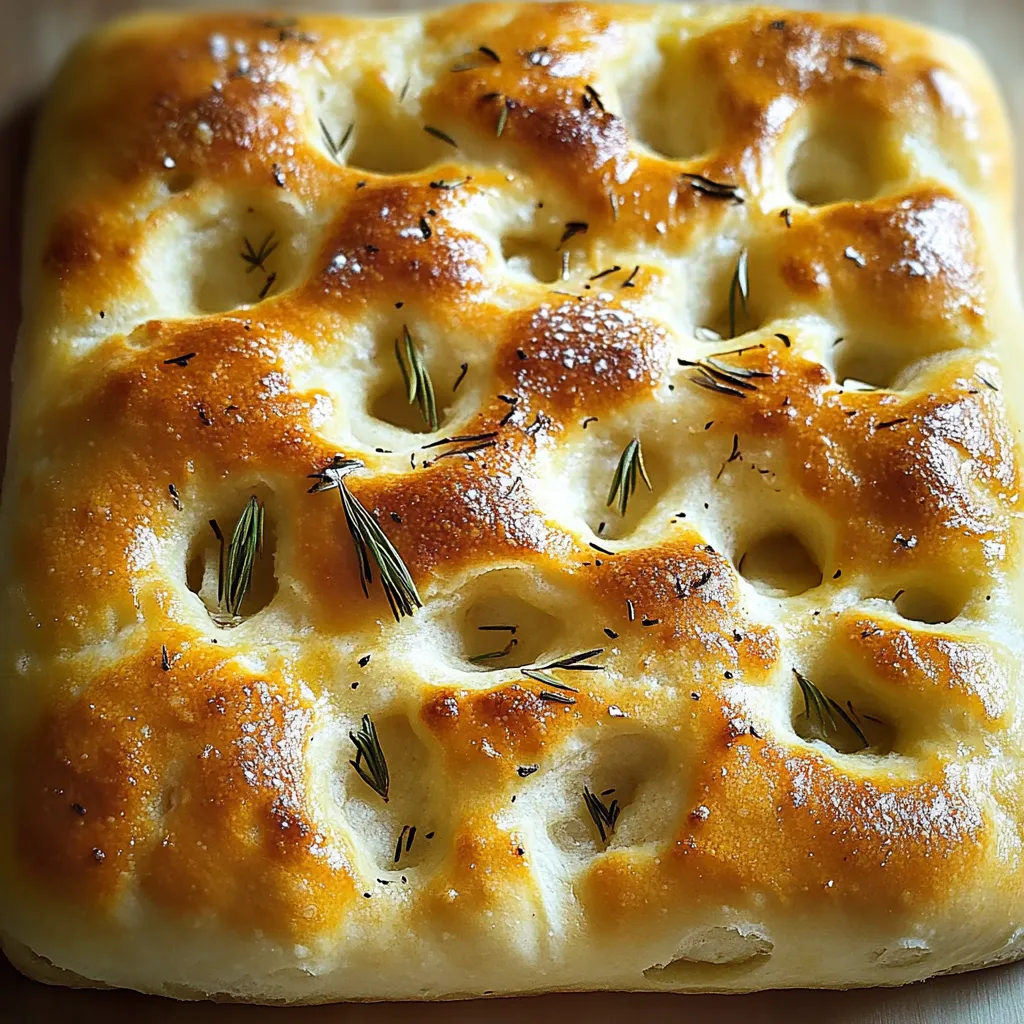
- Fresh Rosemary: Look for bright, strong-smelling stems with no brown parts
Easy-to-Follow Process
- Step 1: Making Your Dough (25 minutes):
- First, wake up your yeast in warm water that should feel like a comfortable bath. In another bowl, mix your flour and salt, then make a hole in the middle. Pour in the oil first, then add the yeast mix, stirring slowly so flour doesn't fly everywhere. Keep kneading until the dough feels like your earlobe when you touch it – soft with a little bounce.
- Step 2: Letting It Grow (1-2 hours):
- Put lots of oil in your bowl – it'll make your dough even tastier as it grows. Cover with a wet kitchen towel instead of plastic. Put it in your oven with just the light turned on for the right warmth. Wait for it to get twice as big with visible air pockets.
- Step 3: Flattening and Poking (15 minutes):
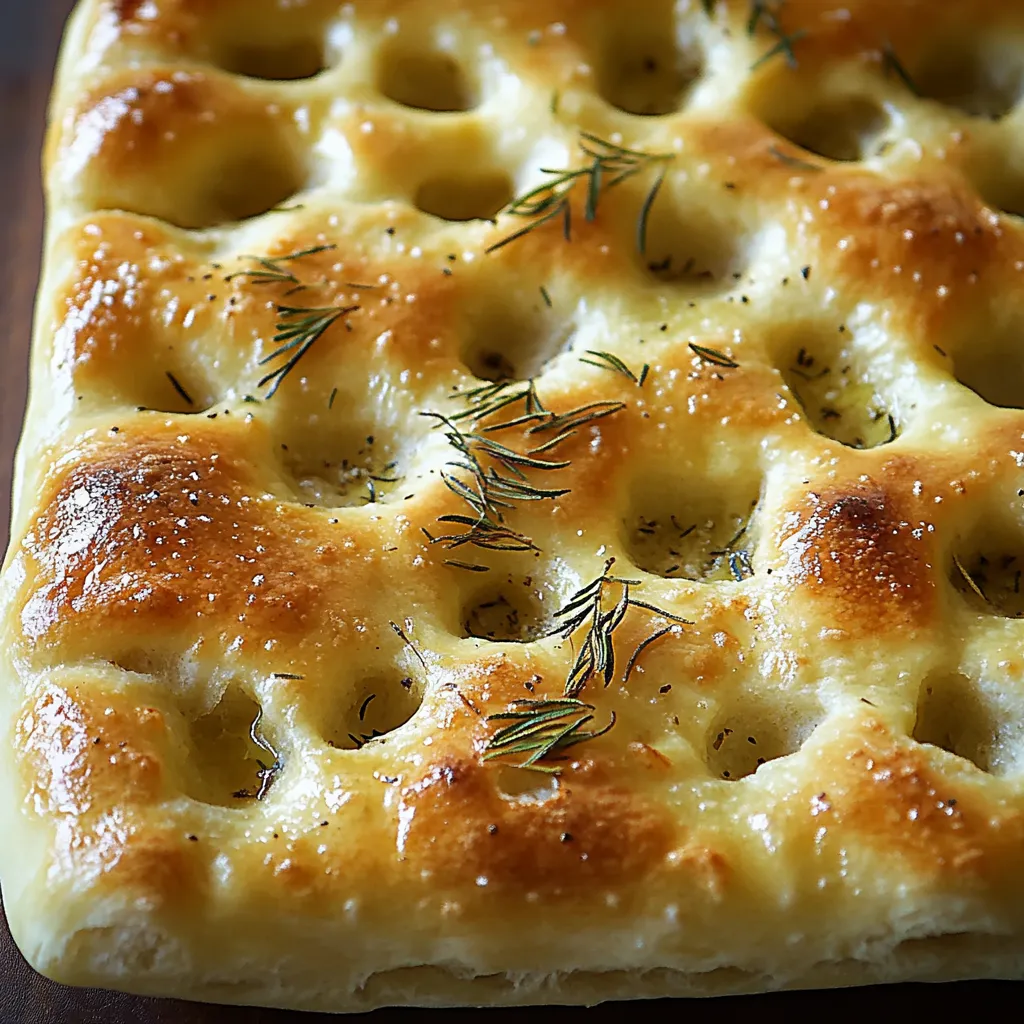
- Put enough oil on your baking tray to make it gleam. Stretch the dough gently like you're smoothing out sheets, giving it breaks to relax. Make deep holes with all your fingers, going almost to the bottom. Let the dough come back up a bit between pokes.
- Step 4: Last Rise and Cooking (45 minutes):
- Watch the holes slowly fill in during the final rise. Pour oil generously into each dent. Throw salt from up high so it lands evenly. Bake until the top looks like it's been dipped in honey.
 Save it
When I was little, my grandma from Italy always said good focaccia should have "gold valleys" – those oil-filled dents that make every bite amazing.
Tasty Topping Ideas
Add fresh herbs, small tomatoes, and olives to turn this bread into something you can eat as a full meal. In the summer, I really enjoy putting thin slices of lemon and fresh rosemary on top.
Planning Ahead
You can leave your dough in the fridge overnight to get an even deeper flavor. Just let it warm up before you shape it.
Ways To Enjoy It
Instead of cutting the focaccia, try ripping it apart – those uneven chunks are perfect for dunking in good oil or soaking up sauce.
Keeping It Fresh
For any leftover focaccia, wrap it in a cotton towel first, then put it in a paper bag. This keeps the outside crispy while the inside stays soft.
 Save it
After baking focaccia for years, I've found that taking your time really matters. This recipe might look basic, but it's all the small things – how you add the oil or make the dimples – that turn simple stuff into something amazing. Every time I bake it, I remember why people have loved this humble bread for so long.
FAQ sur la recette
- → Can I swap bread flour for regular flour?
- Sure! All-purpose flour is okay, but bread flour gives extra chewiness.
- → How do I tell if the dough is ready?
- The dough should rise to double its size, which usually takes 1-2 hours in a warm spot.
- → What are some other topping options?
- Switch it up with olives, tomatoes, or caramelized onions if you’d like!
- → What’s the point of dimpling the dough?
- It gives focaccia its classic look and holds oil in little pockets.
- → How do I keep leftover focaccia fresh?
- Keep in an airtight container for up to 2 days, or freeze it for up to a month.