
 Save it
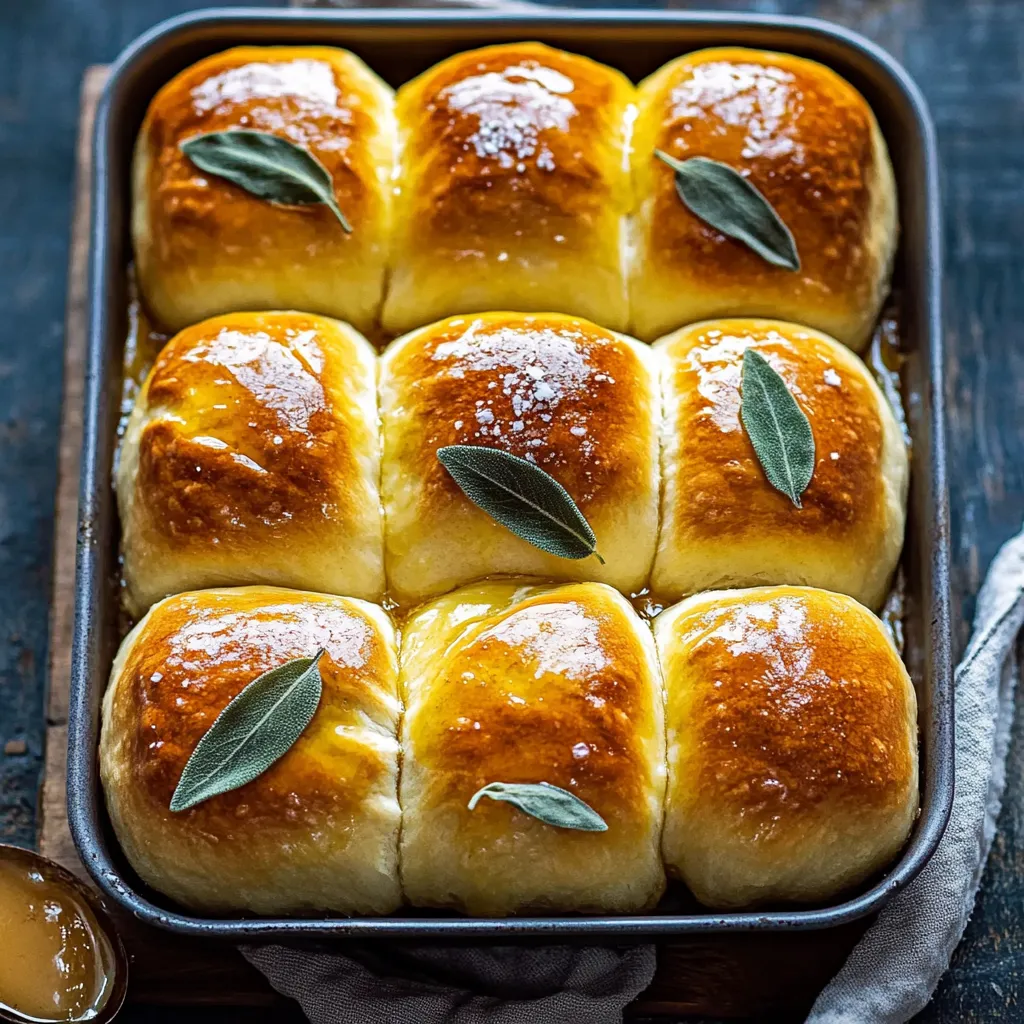
Elevate your bread selection with these incredible Honey Sage Brioche Rolls. The gentle sweetness from honey paired with fragrant sage takes ordinary dinner rolls to new heights – fancy enough for holiday gatherings but straightforward enough for weekend baking projects.
My family completely changed their view of bread service after I started making this combo. Everyone rushes to the table early whenever the buttery, herb-filled smell of these rolls fills our kitchen.
Prime Ingredient Breakdown
- All-purpose flour: Go for unbleached to get better taste
- Instant yeast: Make sure it's new for proper rising
- Salted butter: Pick European kinds for deeper flavor
- Fresh sage leaves: Can't skip these for real herbal taste
- Local honey: Brings light flowery hints
- Large eggs: Need to be at room temp for smooth mixing
- Sea salt: The flaky type adds the perfect final touch
Comprehensive Preparation Guide
- Dough Development:
- Mix all dry items well first. Slowly pour in wet ingredients. Keep mixing until you get smooth, stretchy dough. Check for good gluten formation. Set aside for first rise.
- Sage Butter Creation:
- Cook sage until it gets crispy. Let it cool completely, then chop it up. Mix with soft butter. Slowly stir in honey. Add salt to taste.
- Rolling Process:
- Handle dough carefully. Keep your surface lightly dusted with flour. Roll everything to the same thickness. Spread your butter mix evenly. Use a sharp knife for cutting strips.
- Shaping Technique:
- Roll each strip firmly. Put them carefully in your baking dish. Allow space between each for growing. Cover them loosely while proofing. Watch for proper rising.
- Final Baking:
- Make sure your oven's fully heated. Apply egg wash gently. Watch for golden brown color. Check the middle roll for doneness. Brush with butter while they're still warm.
 Save it
I took my grandma's classic brioche recipe and jazzed it up with honey and sage to make something you won't forget.
Heat Control Tips
After making tons of batches, I've learned that getting the dough temperature right matters a lot. I always let my ingredients sit out to reach room temperature and use a thermometer to make sure my milk is about 110°F - warm enough to wake up the yeast without killing it. How warm your kitchen is really changes how long the dough takes to rise too.
Prep Ahead Tricks
You can easily make these rolls ahead of time. I often shape them and put them in the fridge overnight. The slow, cold rising actually makes them taste better. Just let them sit out for 30 minutes before the final rise and baking.
Keeping Them Fresh
They're best right out of the oven, but you can wrap any leftover rolls tightly and freeze them for up to three months. When you want to eat them, wrap in foil and warm them in a 300°F oven until they're hot, then brush with fresh honey butter.
Pairing Ideas
These rolls can turn any regular meal into something special. They're great with holiday meats, but we also love them with Sunday dinners and brunch. Try cutting and toasting them for morning sandwiches - they taste amazing with eggs and ham.
Common Problems Solved
If your dough feels too sticky, don't dump in loads of extra flour. I've found that slightly sticky dough makes your rolls lighter and fluffier. Just use enough flour so you can handle the dough without it sticking to everything.
Changing With The Seasons
In summer months, I sometimes swap in fresh rosemary instead of sage, while during winter holidays I like adding orange zest to the honey butter. You can really play around with the basic recipe.
 Save it
These Honey Sage Brioche Rolls have become our family's go-to bread, with everyone asking for them at every gathering. The mix of rich brioche, sweet honey, and earthy sage creates something truly remarkable that makes any meal feel special. They bring warmth and comfort to the table whether you're having a big holiday feast or just a casual family dinner.
FAQ sur la recette
- → Is it possible to prep these the night before?
- Totally! Shape the dough and store it in the fridge overnight. Put it in the oven fresh the next day.
- → Why is it important to let the dough rest for a while?
- It helps gluten develop and lets the flour soak up moisture, making the rolls extra fluffy and soft.
- → Can I store these in the freezer?
- Absolutely, they keep up to three months frozen. Thaw before warming them again.
- → What should I do if I don’t own a stand mixer?
- Just knead the dough by hand! Keep at it for around 8–10 minutes until it’s smooth and stretchy.
- → What’s the purpose of frying sage leaves?
- This step creates depth in flavor while giving the butter mixture an extra crisp, herby punch.