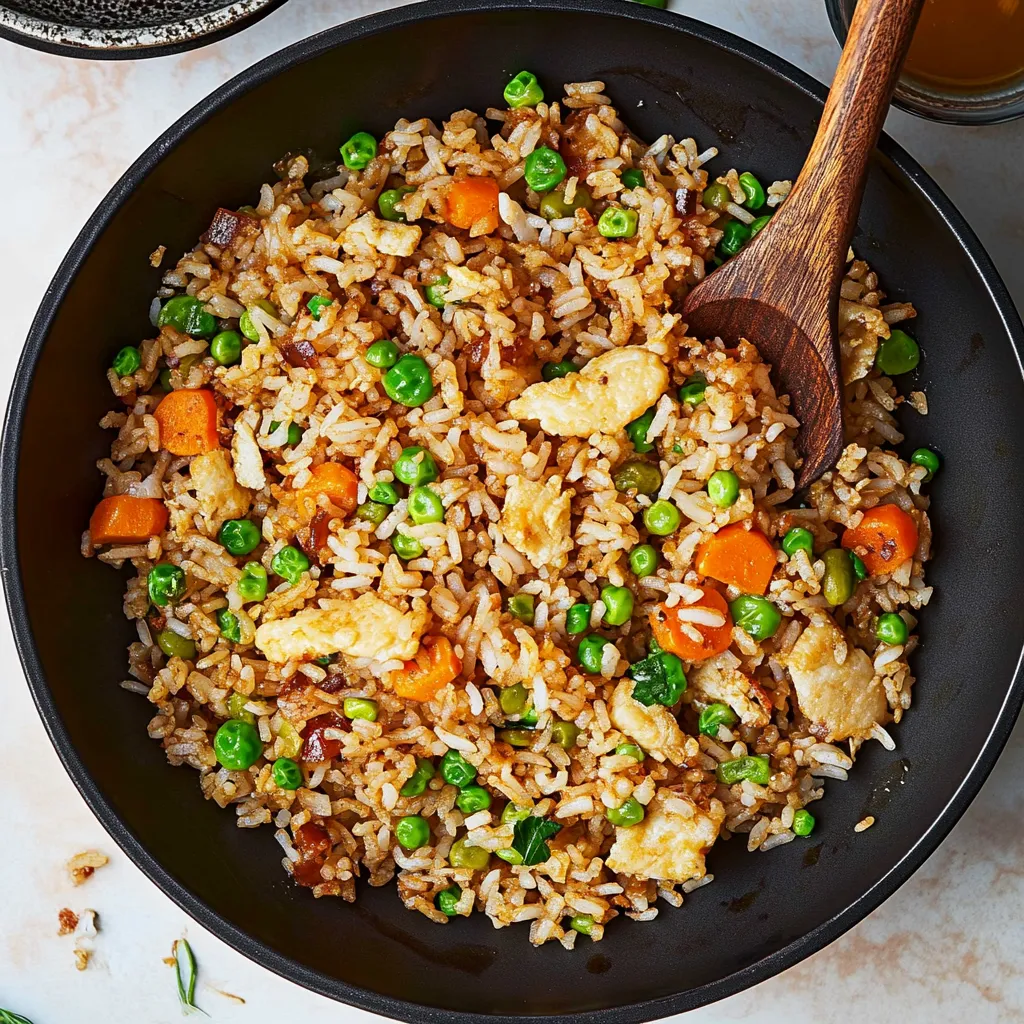
Save itPlate of Gluten-Free Fried Rice | kylierecipes.com
I've tried dozens of takeout options and spent countless hours in my kitchen before nailing this gluten-free fried rice that beats anything from restaurants. This came together after years of tweaking methods and components. What I love most is how it captures authentic takeout taste while staying completely gluten-free. It's perfect when you're cooking for folks with food restrictions or just want a healthier spin on your takeout favorites.
Smart Cooking Shortcuts
Let me pass on some tricks I've picked up along the way. When you're using fresh rice, spread it on a cookie sheet and pop it in the fridge for half an hour—it works magic. I've noticed that if you get your pan super hot before adding any oil, nothing sticks and you'll get that awesome restaurant-style sear. And here's my little secret: add a tiny bit of toasted sesame oil right at the end for amazing flavor depth.
Easy-to-Follow Cooking Guide
After making this dish so many times, I can show you exactly how I do it. I've found that the order you cook everything really matters for getting the best taste and texture.
Prep Work First
I always set out everything I need before turning on any heat. Once you start cooking, things move fast, so being prepared is super important. I cut my onions into tiny bits—about 1/4 inch works great. I mince the garlic really small, and I always chop extra green onions since my family loves piling them on top.
Get your pan really hot—I check by flicking some water in; if it dances around, we're good to go. Pour in your oil and make sure it coats the bottom. Dump in your whisked eggs and keep them moving with your spatula. I wait until they barely start to set before breaking them into little fluffy chunks. Once they're just barely cooked but still shiny, scoop them onto a plate.
Building Tasty Foundations
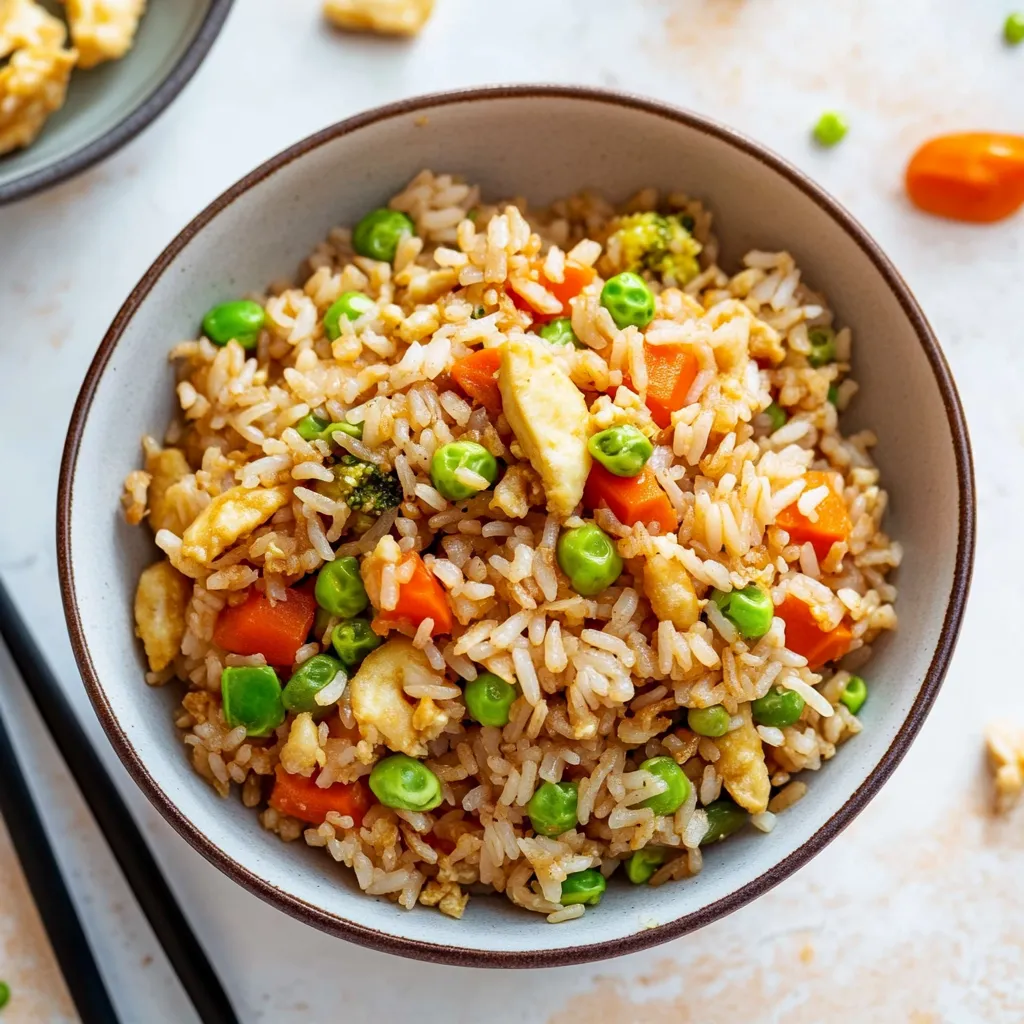
Save itGluten-Free Fried Rice | kylierecipes.com
Using that same pan, I throw in a bit more oil and add those tiny onion pieces. Cook them until they just start looking clear—about 2 minutes does it. Then in goes the garlic, but keep an eye on it! I've ruined many batches when garlic burned in just seconds. Around 30 seconds is usually long enough to get that amazing smell going.
Rice Frying Secrets
Now for the fun part—adding rice. I spread it all over the pan and don't touch it for about half a minute. This makes those tasty crispy bits everybody loves in fried rice. Then I mix everything up, spread it out again, and do the same thing. This whole process takes about 5-6 minutes altogether.
Mixing In The Right Flavors
When your rice starts getting those nice crispy spots, it's sauce time. I always pour the gluten-free soy sauce around the sides of the pan first—it makes an awesome sizzling sound and helps the sauce get slightly caramelized. Then comes the toasted sesame oil. My grandma taught me to tilt the pan a little when adding sauces—they spread more evenly that way.
Combining Everything Together
Here comes the good part! Put those cooked eggs back in, breaking them into smaller chunks as you stir. I mix everything gently—you want to keep those egg pieces intact rather than turning them to mush. This is when I toss in my defrosted veggies too, stirring until everything's hot and mixed well.
Last Steps For Tasty Fried Rice
These last couple minutes really make a difference for flavor. I let everything cook together for 2-3 minutes, stirring now and then. This lets the rice soak up all those yummy flavors. If I see any clumps, I gently break them apart with my spatula. Sometimes I'll throw in a little more soy sauce if needed, tasting as I go.
How To Keep And Warm Up Leftovers
Through lots of testing, I've found you should store extra fried rice in containers that seal tight, but here's a trick: cool it down completely before putting it in your fridge. When warming it up later, add a tiny bit of water to your pan first—it creates steam that brings your rice back to life without drying it out.
Fixing Common Problems
If rice sticks to your pan, don't worry! I've found that adding a tiny bit of oil around the edges helps unstick everything. If your rice seems too dry, a small splash of gluten-free soy sauce can help—just taste as you add since it'll make things saltier too.
Just remember, you'll get better at making fried rice with practice. Don't worry if your first try isn't perfect—mine sure wasn't! Each time you cook it, you'll figure out the timing and heat that works in your kitchen. Enjoy your cooking!
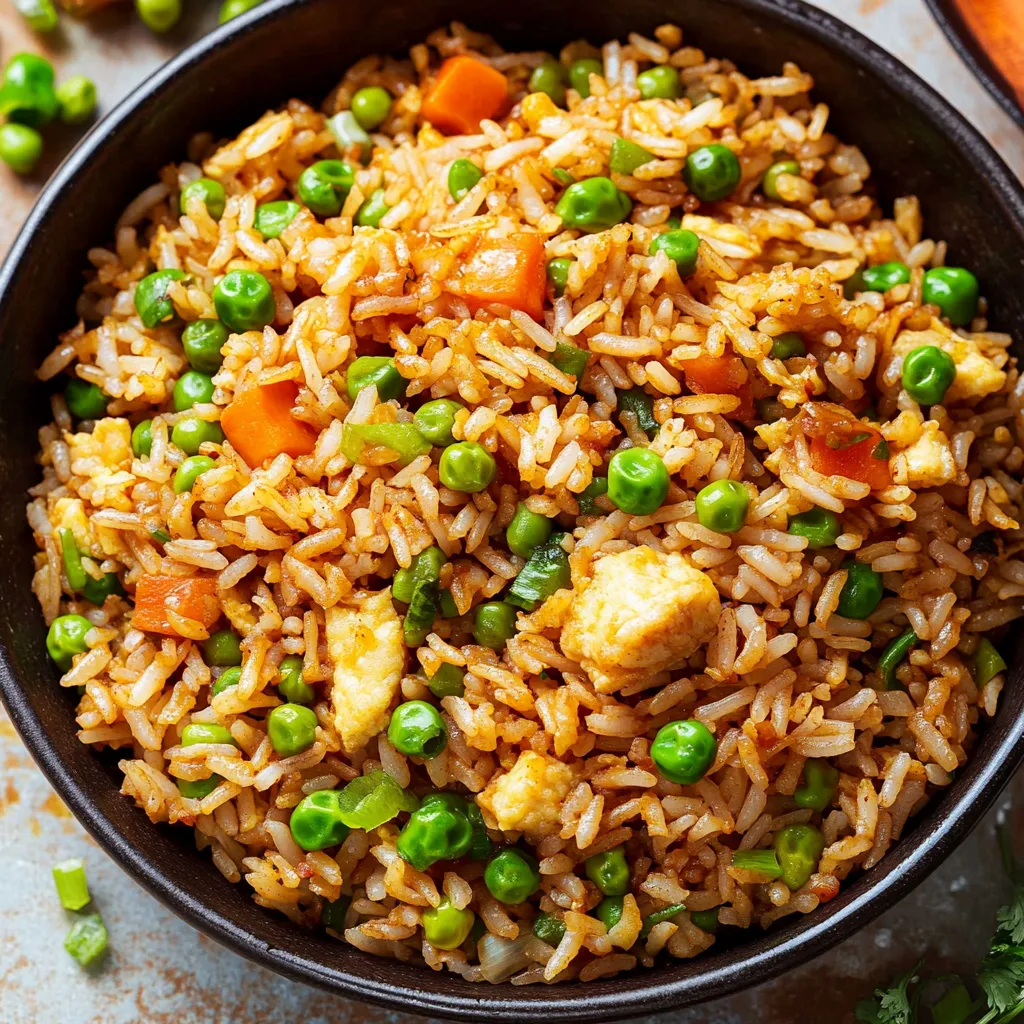
Save itGluten-Free Fried Rice | kylierecipes.com
FAQ sur la recette
→ What’s the deal with day-old rice for frying?
Older rice is drier, which makes it fry up without turning into a sticky mess. Fresh rice often gets too soft.
→ Does all soy sauce include gluten?
Yep, most regular soy sauces have wheat in them. Hunt for bottles labeled gluten-free or grab tamari sauce instead.
→ Can I throw some meat in this dish?
Sure can! Toss in pre-cooked chicken, shrimp, or pork. Just double-check everything you use is gluten-free.
→ Any tips for keeping this dish gluten-free?
Check every label! Soy sauce, oils, and condiments can sneak in gluten. Certified gluten-free is your friend.
→ Why not use completely frozen vegetables?
If you thaw the veggies just a bit, they heat up evenly and don’t make the rice watery with excess moisture.
Gluten-Free Fried Rice
Enjoy takeout-style fried rice with no gluten worries. Quick, simple, and made from easy-to-find ingredients in only 30 minutes.

 Save it
 Save it
 Save it