
 Save it
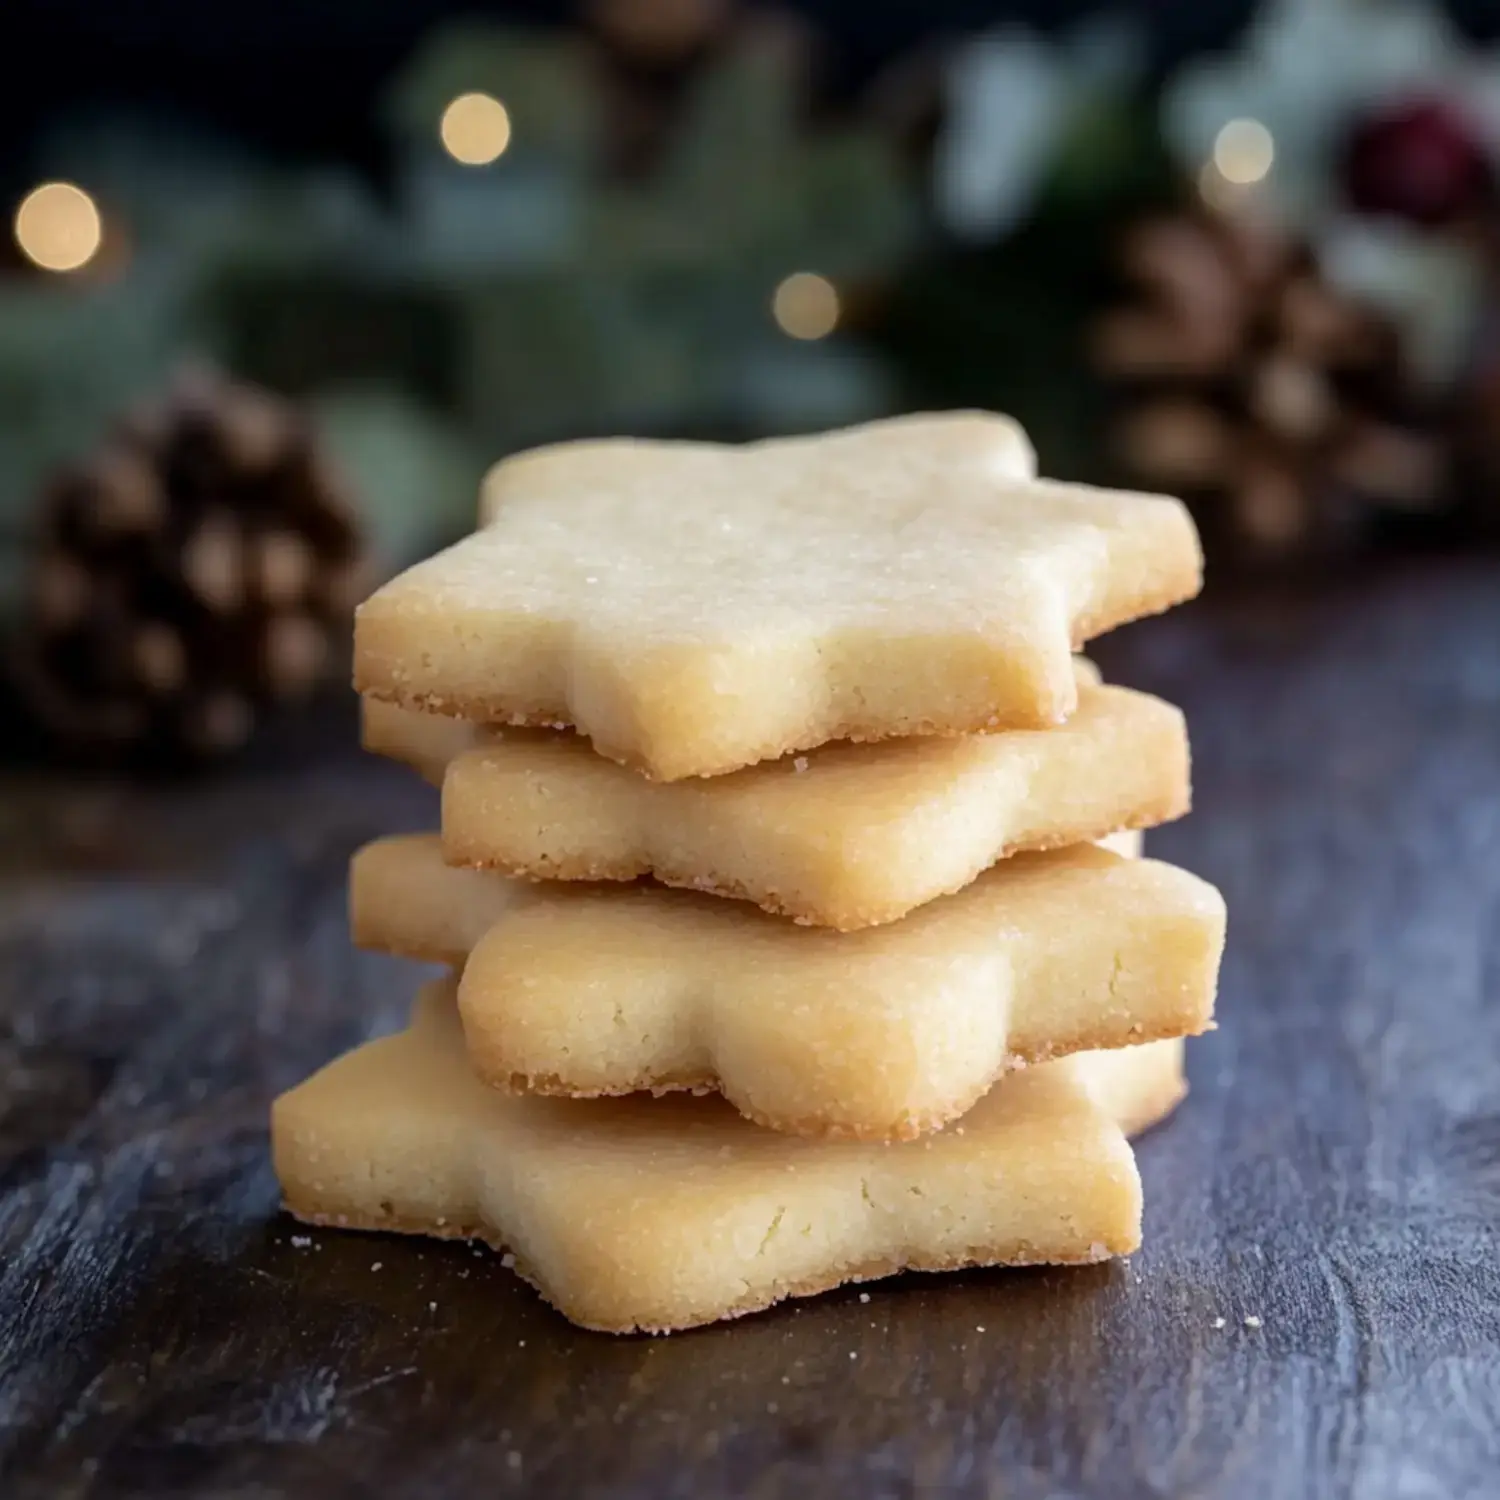
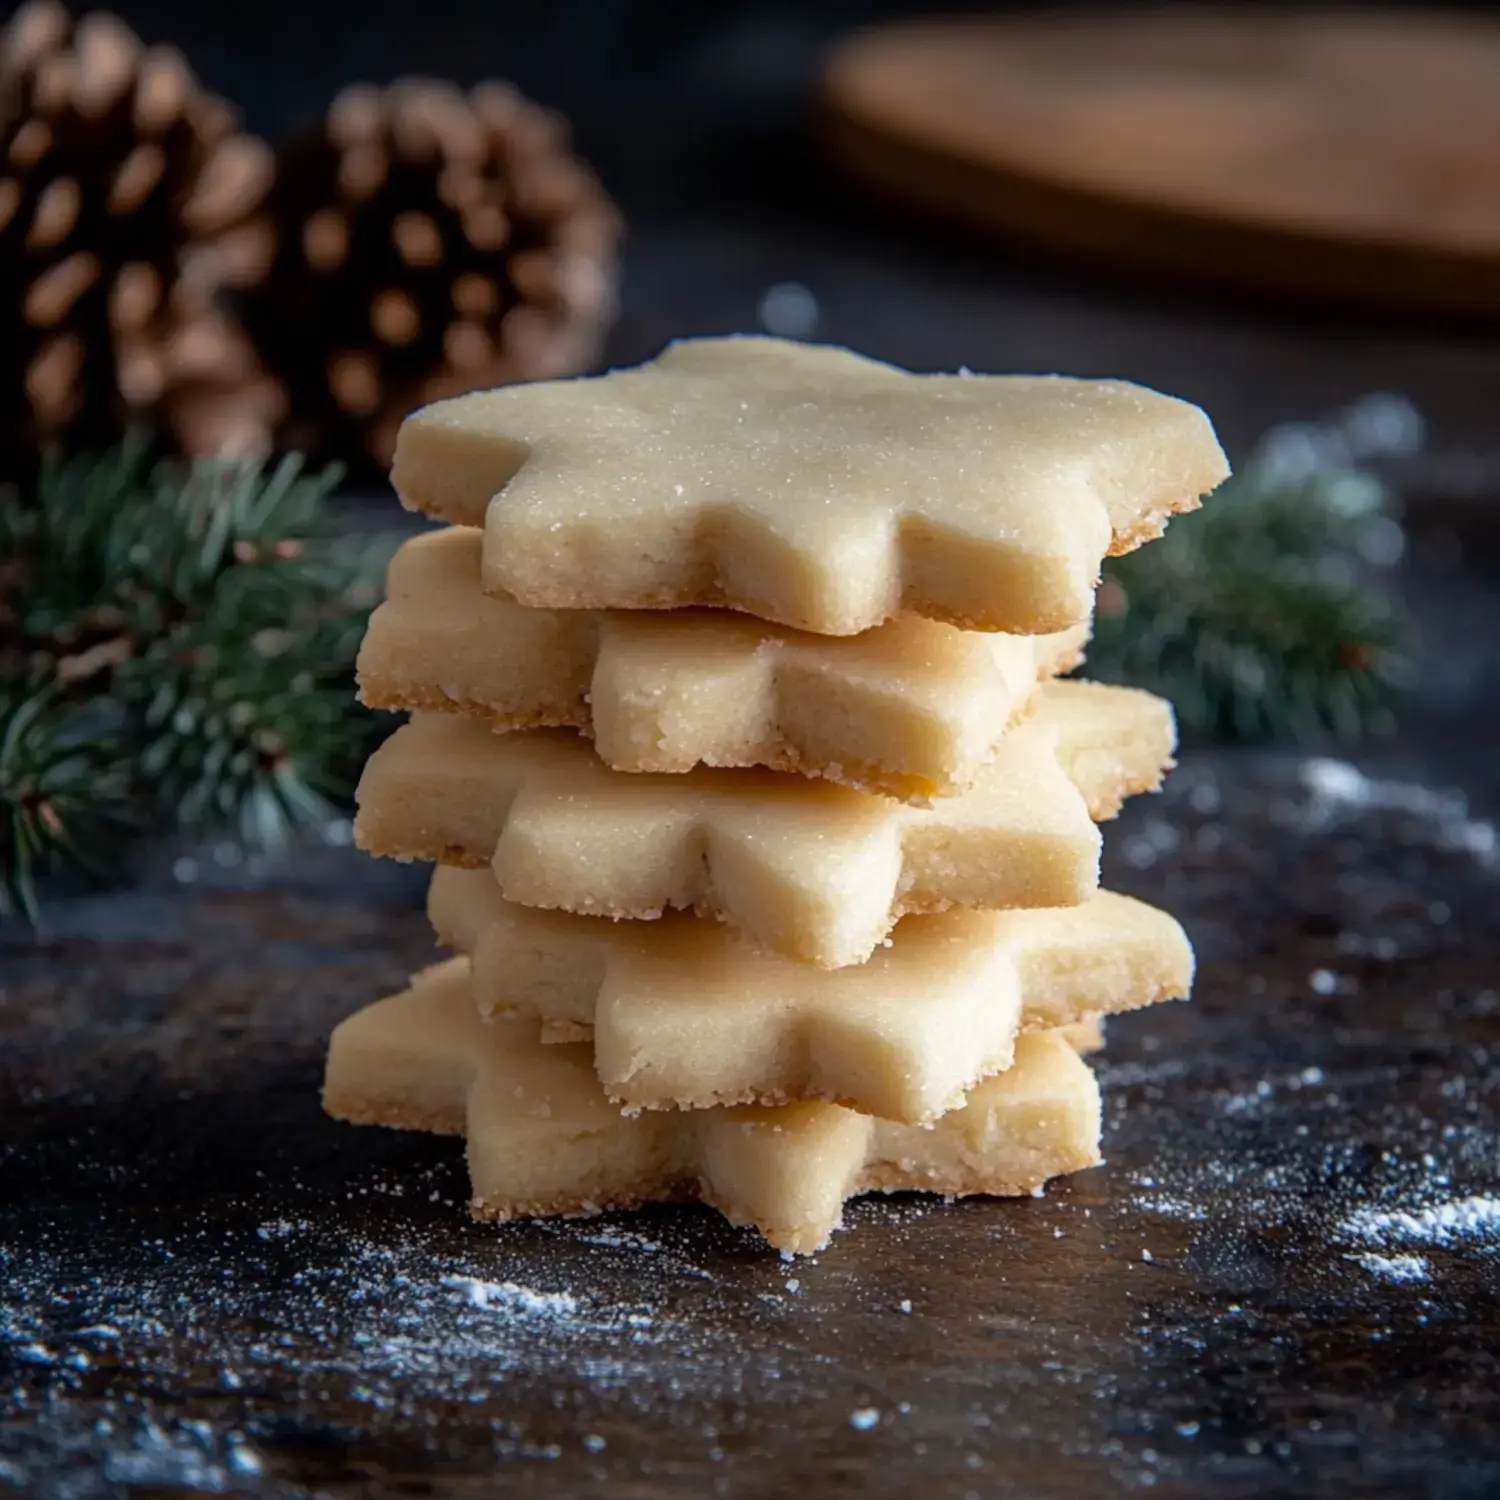
Making these 3 Ingredient Shortbread Treats always takes me back to baking with my grandma during the holidays. The combo of butter, sugar and flour somehow creates treats that just melt away in your mouth. It's so fun watching my little ones add festive decorations, just like I used to as a kid. These easy cookies have now turned into our family's must-have Christmas tradition.
Delightful Cookie Wonder
The easiest recipes often give the biggest smiles. These shortbreads never stop surprising me with their soft buttery taste. I keep a batch around throughout December for afternoon snacks or when friends drop by. My kid's buddies call them "vanishing cookies" since they're gone in the blink of an eye.
What You Need
- Good butter: I grab salted butter and let it warm up on the counter naturally.
- Perfect sugar: For shaped cookies I might use powdered sugar, or caster sugar when I want something extra soft.
- Quality flour: Try to find all-purpose with decent protein levels - it really makes everything better.
Let's Make Cookies
- Getting Started
- I mix the butter and sugar until they look all fluffy and cloud-like. My stand mixer helps tons but sometimes I grab the hand mixer when I'm feeling a bit sentimental.
- Time to Chill
- Once the flour's mixed in, I wrap that dough up snugly and stick it in the fridge. This waiting period really matters for getting awesome cookies.
- Rolling Time
- I sprinkle some flour on the counter and roll everything about half an inch thick. The kids always fight over which cookie shapes we'll use.
- Another Quick Chill
- The cut shapes go back in the fridge while the oven heats up. This extra step keeps all those edges nice and sharp.
- Into The Oven
- I look for just slightly golden edges. That amazing butter-sugar smell makes the whole house feel cozy and happy.
 Save it
My Secret Tips
I've figured out a few shortcuts over many batches. Using powdered sugar really helps your shapes stay looking crisp. Also, good sturdy flour makes such a big difference. Don't try to rush through the cooling steps - they're why your cookies will look so amazing every single time.
Keeping Them Fresh
These goodies stay tasty in my favorite tin for around a week out on the counter, or a bit more in the fridge. I often make extra batches and stick them in the freezer between parchment sheets. The kids love stumbling across these hidden treasures later on.
Making Them Your Own
Throughout the years I've tried little add-ins that give these cookies extra pizzazz. A tiny bit of vanilla or almond flavoring works wonders. For Christmas, I'll sometimes add sugar crystals before they go in the oven so they glimmer like fresh snow. My son got me to dip some in melted chocolate once, and now we can't go a year without doing it.
Sugar Secrets
I've noticed how each type of sugar creates a different cookie texture. When I use powdered sugar, the dough holds shapes really well for holiday designs. For cookies that just melt away, I'll grab the caster sugar instead. Funny enough, both kinds vanish from my cookie jar just as fast.
Perfect Shapes Every Time
Getting those pretty cookie shapes means you've gotta be patient with cooling time. I always cool them before and after cutting. Using that stronger flour helps too. Last year at Christmas my star cookies looked so professional everyone thought I'd bought them from a fancy bakery.
Simple Perfection
These treats always remind me that you don't need much to make something amazing. Just three things come together to create pure magic. My grandma always told me good butter and taking your time were the only real secrets. Now I think of her kitchen lessons whenever I feel when the dough is just right. Even my friends who say they're terrible bakers can nail this recipe.
Sharing The Joy
Nothing beats seeing people enjoy these cookies when they visit. They look so pretty on any holiday table. Sometimes I'll brew tea just as an excuse to munch a few in the afternoon. During Christmas, I love seeing everyone's face light up when they taste that sweet buttery goodness.
What You'll Need In Your Kitchen
What's great about these cookies is how straightforward they are to whip up. My stand mixer makes the dough come together quickly, though a hand mixer works perfectly fine too. You'll just need a rolling pin, some cookie cutters and basic baking trays. My grandma made these with just a wooden spoon and determination, so don't worry if you don't have fancy tools.
 Save it
FAQ sur la recette
- → Why does butter quality matter?
- Good butter, rich in fat, gives better flavor and texture. Cheaper options with less fat can dry the cookies out.
- → Why pick flour with higher protein?
- Flour at 11% protein keeps cookies firm during baking, so they hold their shape well.
- → How long can these be stored?
- They stay fresh a week in a tight container at room temp, 10 days in the fridge, or a month in the freezer.
- → What’s the point of chilling the dough?
- An hour in the fridge firms dough up so cutting’s easier and helps them bake evenly without spreading.
- → Why let them cool entirely?
- Cooling completely enhances flavor and creates that signature crumbly, buttery bite.