
 Save it
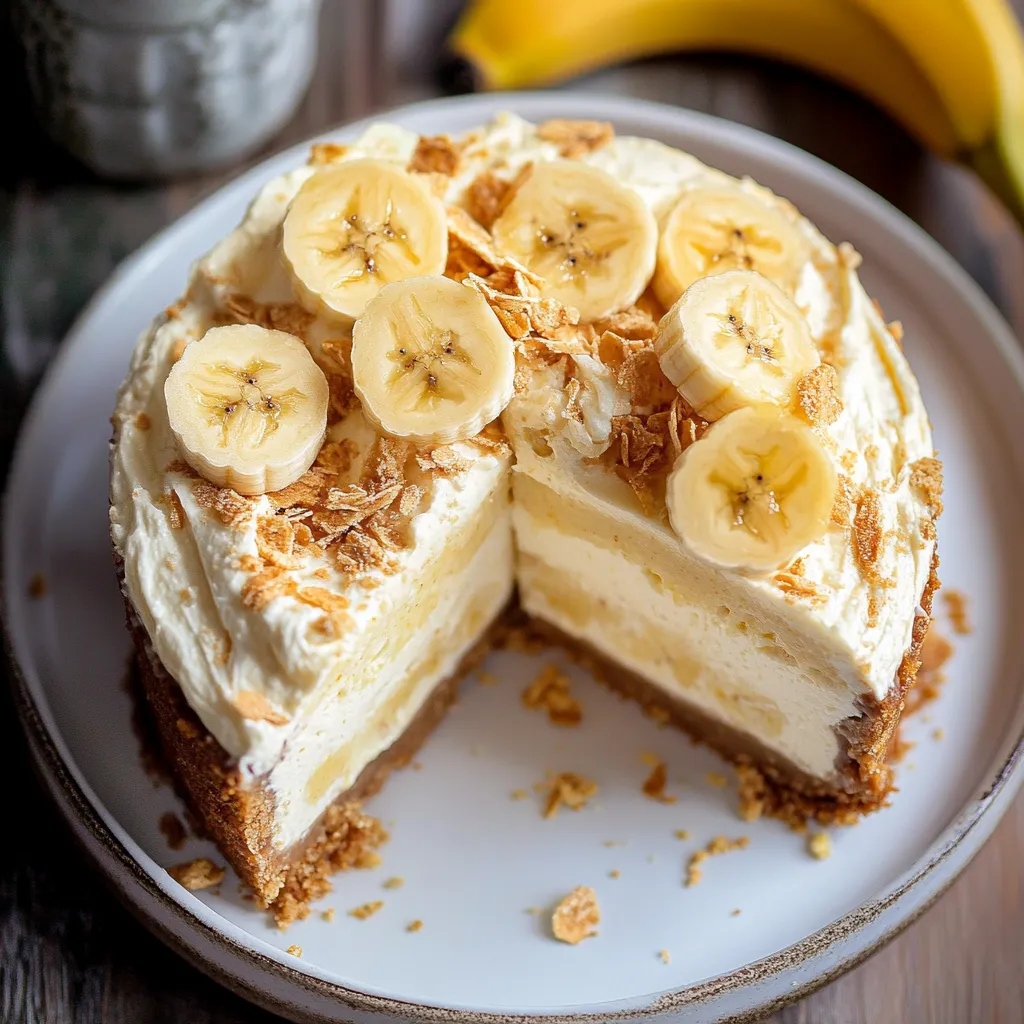
When two dessert favorites collide, you get this amazing Banana Pudding Cheesecake. The smooth, velvety cheesecake blends with classic banana pudding flavors to make something truly special. Each forkful gives you waves of vanilla wafer base, banana-filled cheesecake middle, and light-as-air topping—creating a dessert that'll leave everyone asking for seconds.
I made this for my mom's birthday a few weeks back, and she admitted it topped the banana pudding she's been whipping up for four decades! The trick? Getting those bananas at just the right ripeness and letting everything hang out in the fridge so the flavors can really mix together.
Key Ingredients and Smart Shopping Advice
- Cream Cheese: Grab the full-fat blocks only, not the light or whipped stuff. They're crucial for the right body.
- Bananas: Go for yellow ones with little brown freckles—they pack the most flavor without getting too wet.
- Nilla Wafers: Stick with the real deal for that authentic taste. The cheaper versions tend to fall apart too easily.
- Sour Cream: Full-fat and sitting at room temp will mix in much better.
- Heavy Cream: Pick up 'heavy whipping cream' that's at least 36% fat to get that dreamy smoothness.
Step-by-Step Cooking Guide
- Step 1: Getting That Base Right
- Heat your oven to 325°F exactly. Crush those Nilla Wafers in your food processor until they're sandy. Mix them with melted butter and brown sugar. Push the mixture firmly into your pan with a flat-bottomed measuring cup. Let it bake for 11 minutes.
- Step 2: First Baking Round
- Let your crust cool down. Get all your filling ingredients out and make sure they've warmed to room temperature.
- Step 3: Making Your Filling
- Whip the cream cheese until it's totally smooth. Add sugar and keep scraping the bowl as you go. Mash your bananas till they're lump-free, then mix them in with vanilla, sour cream, and heavy cream. Add your eggs one by one, mixing slowly.
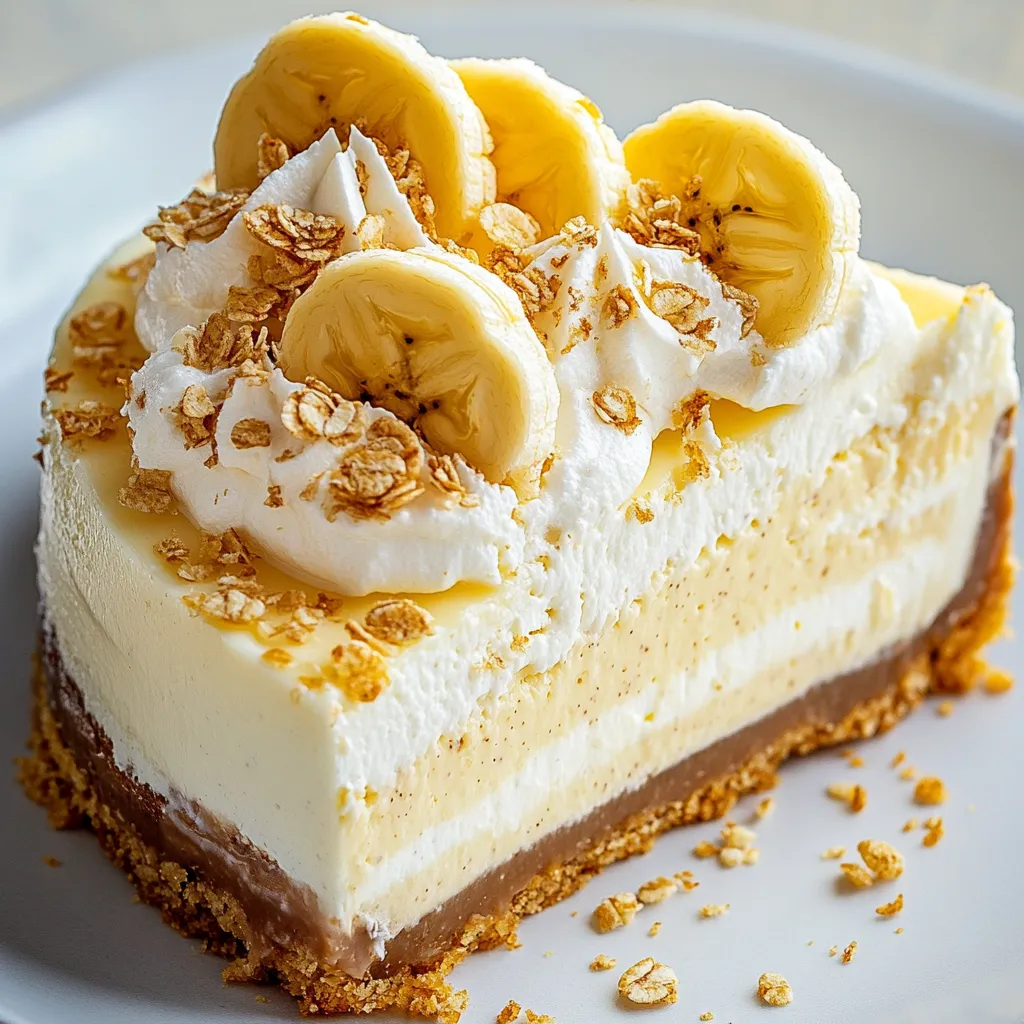
- Step 4: Creating Your Layers
- Pour half your mixture onto the cooled crust. Add a layer of thin banana slices and sprinkle some crushed wafers. Pour the rest of your batter on top and smooth it out.
- Step 5: Setting Up The Water Bath
- Wrap your springform pan, put it in a bigger pan, then set both in a roasting pan. Add hot water until it comes halfway up the sides.
- Step 6: Baking And Cooling It Right
- Bake for 80-90 minutes until the edges set but the middle still wobbles slightly. Turn off the oven and open the door a crack to let it cool down slowly.
 Save it
Understanding Cheesecake Chemistry
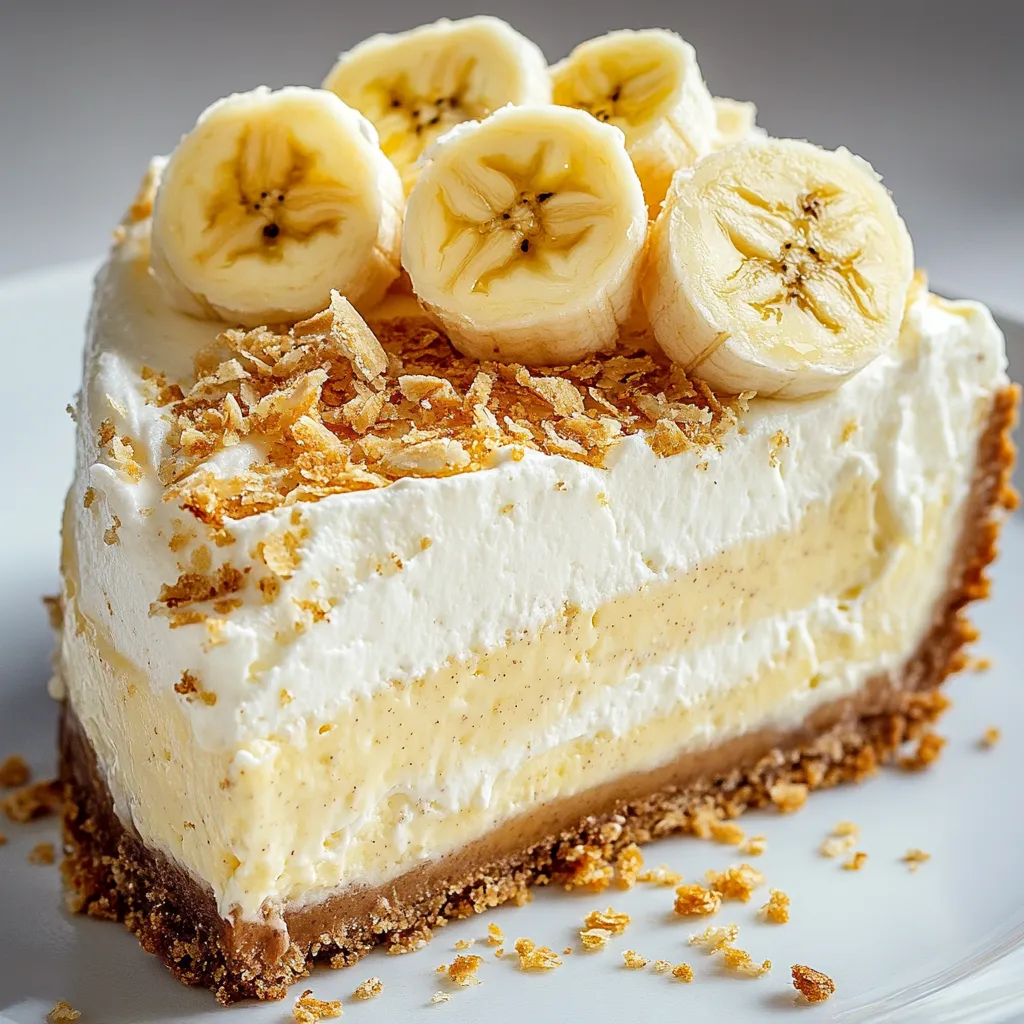
Knowing how your ingredients work together leads to that perfect texture. The proteins in your cream cheese and eggs firm up when heated, while fats from the cream and sour cream add that luxurious mouthfeel. Bananas bring moisture and sweetness, but you need to watch the balance so things don't get soggy.
Getting Temperatures Just Right
Watching your temps makes all the difference. Room temperature ingredients blend together smoothly. I learned this the hard way when I tried to rush making this for a dinner party—cold ingredients left me with lumps everywhere!
 Save it
Making this Banana Pudding Cheesecake has turned into one of my favorite kitchen projects. It brings together the decadence of cheesecake with the comfort of banana pudding for a knockout dessert that'll have everyone talking long after the last slice disappears.
FAQ sur la recette
- → What’s the purpose of a water bath?
- It keeps the heat steady and adds moisture, so the cheesecake bakes evenly and stays smooth.
- → Why do ingredients need to be at room temp?
- They mix easier and give the cheesecake a silky texture.
- → Can this dessert be prepped early?
- Yep, it needs at least 6 hours to chill and holds up great if made two days ahead.
- → What’s the deal with bananas in the middle?
- That layer brings in the real deal—banana pudding flavor and texture.
- → How do I avoid water leaks in the pan?
- Wrap the pan tightly in foil or use a separate cake pan to keep it dry.