
 Save it
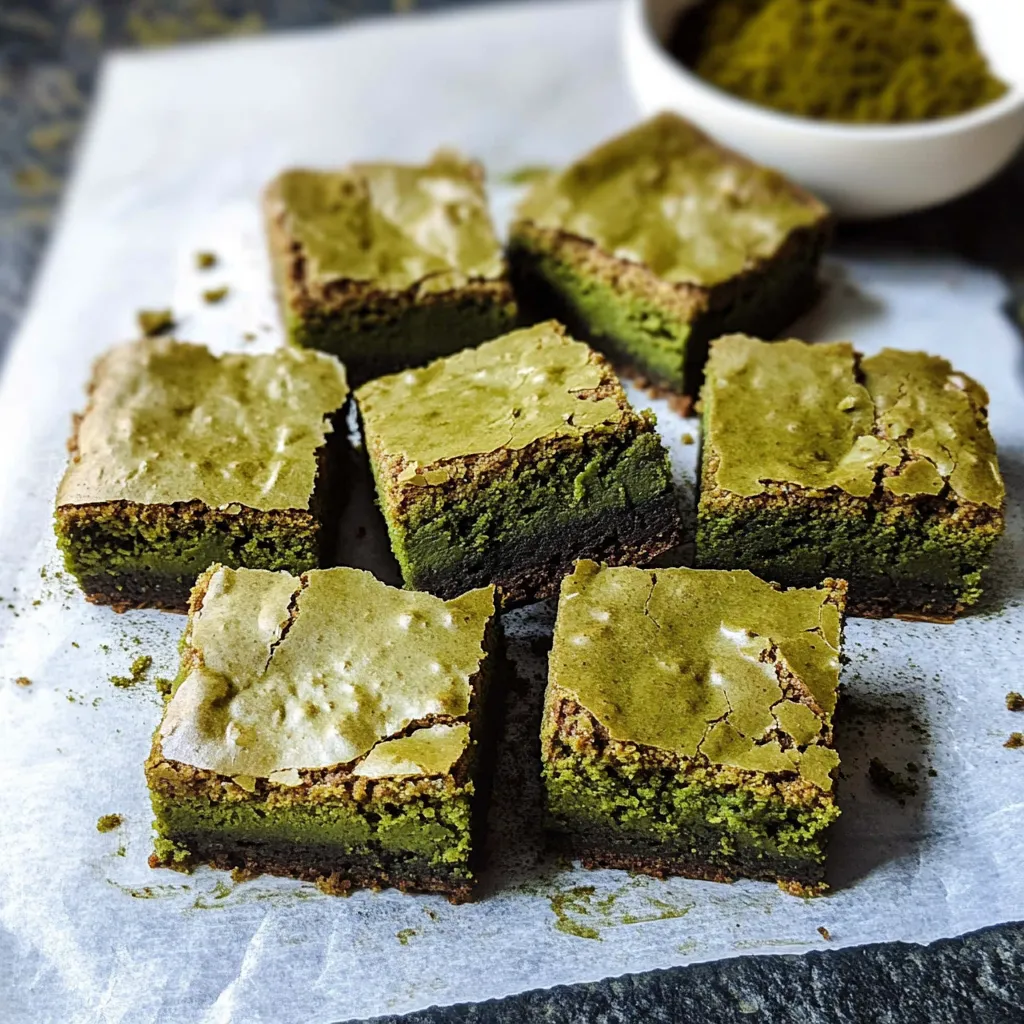
These Matcha Brownies take regular chocolate treats to a whole new level with the unique taste of Japanese green tea powder. When white chocolate meets matcha, you get an amazing flavor combo while keeping that gooey brownie feel we can't get enough of.
After trying this out many times in my kitchen, I've found that beating the eggs properly and watching your temperatures makes all the difference.
Key Ingredients Breakdown
- Ceremonial matcha: Don't skimp on this main ingredient
- White chocolate: Go for real cocoa butter versions
- Unsalted butter: The European kind works wonders
- Fresh eggs: Must be at room temp
- Quality flour: Pick unbleached for best results
- Pure vanilla: Brings out matcha's best qualities
- Kosher salt: Cuts through sweetness wonderfully
Simple Cooking Instructions
- Matcha Mixture:
- Gently warm butter. Mix with chocolate gently. Sprinkle in matcha bit by bit. Stir till it's smooth. Let it cool.
- Egg Development:
- Whip until they're fluffy. Look for good volume. Keep mixer speed steady. Feel the texture. Watch your timing.
- Batter Creation:
- Combine with care. Don't lose the air bubbles. Stir just enough. Notice the green shade. Don't overwork it.
- Pan Preparation:
- Get liner just right. Butter it well. Spread mix evenly. Smooth the top. Tap pan to remove bubbles.
- Baking Process:
- Keep an eye on it. Check the sides. Poke to test. Let it rest. Cut when ready.
 Save it
I came up with this treat by mixing my fondness for Japanese flavors with my love for American-style brownies.
Getting Temperatures Right
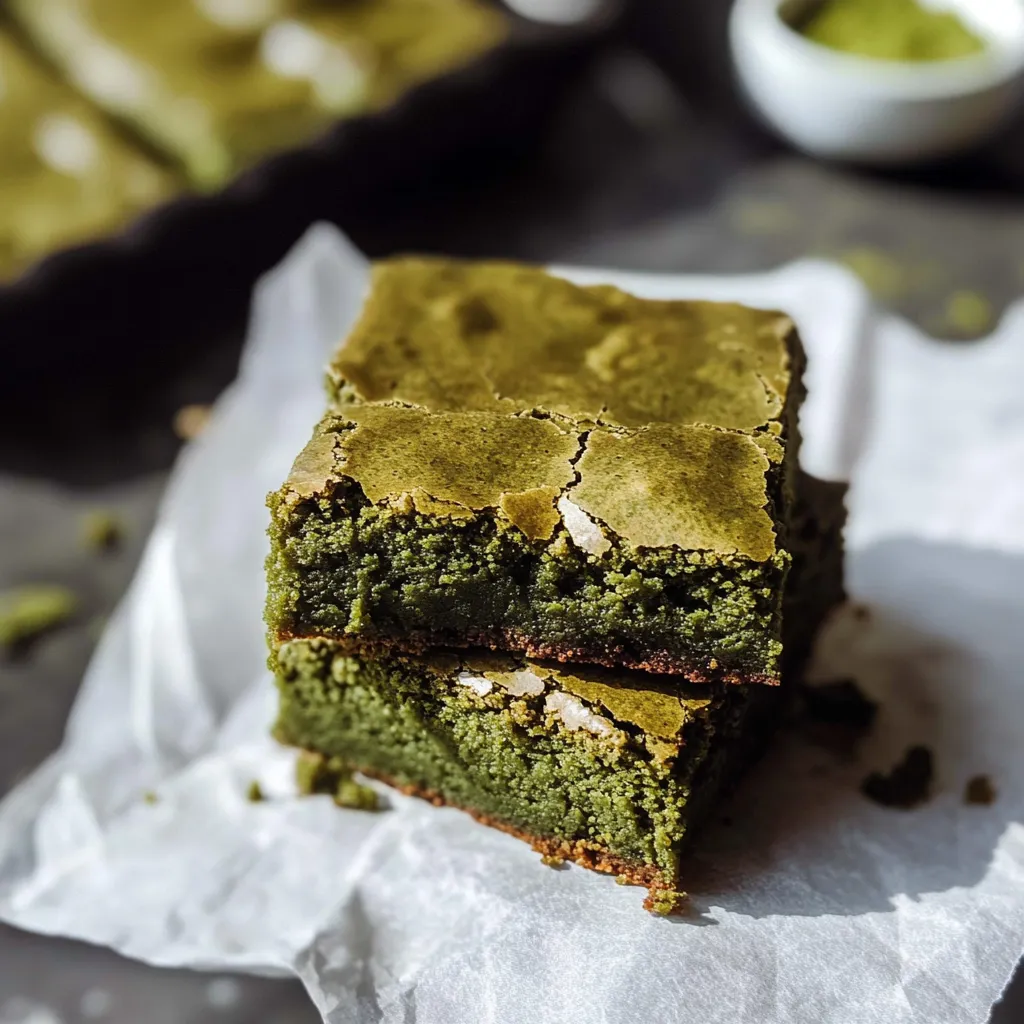
Through making tons of batches, I've noticed how critical temp control is every step of the way. Eggs at room temp will fluff up better, while letting your melted butter cool down a bit stops the white chocolate from getting grainy. You'll need just the right oven temp to get that crackly top everyone wants.
Prep-Ahead Tips
These treats actually taste better the next day when the matcha flavor really sinks in. I usually bake them a day early and keep them whole in the fridge. When it's time to eat, I bring them back to room temp for that perfect gooey bite.
Keeping Them Fresh
They'll stay good on your counter for about three days, but I like to keep mine in the fridge where they last up to a week. Put parchment between layers in a sealed container. You can also freeze them for up to three months if needed.
Ways To Serve
These brownies taste amazing by themselves but really shine with a scoop of vanilla ice cream or a cup of green tea. Before guests arrive, I sometimes dust them with a little extra matcha. They look fantastic on any dessert table.
Mix It Up
I've played around with different add-ins over time. Chopped macadamias add a nice crunch, and swirling in some cream cheese makes them look gorgeous. For fancy occasions, I sometimes drizzle white chocolate on top.
Fixing Common Problems
If your brownies turn out too fluffy instead of fudgy, you probably beat the eggs too much. When the matcha tastes too strong or bitter, try using less or switch brands. For clean slices, always use a hot knife and wipe it clean between cuts.
 Save it
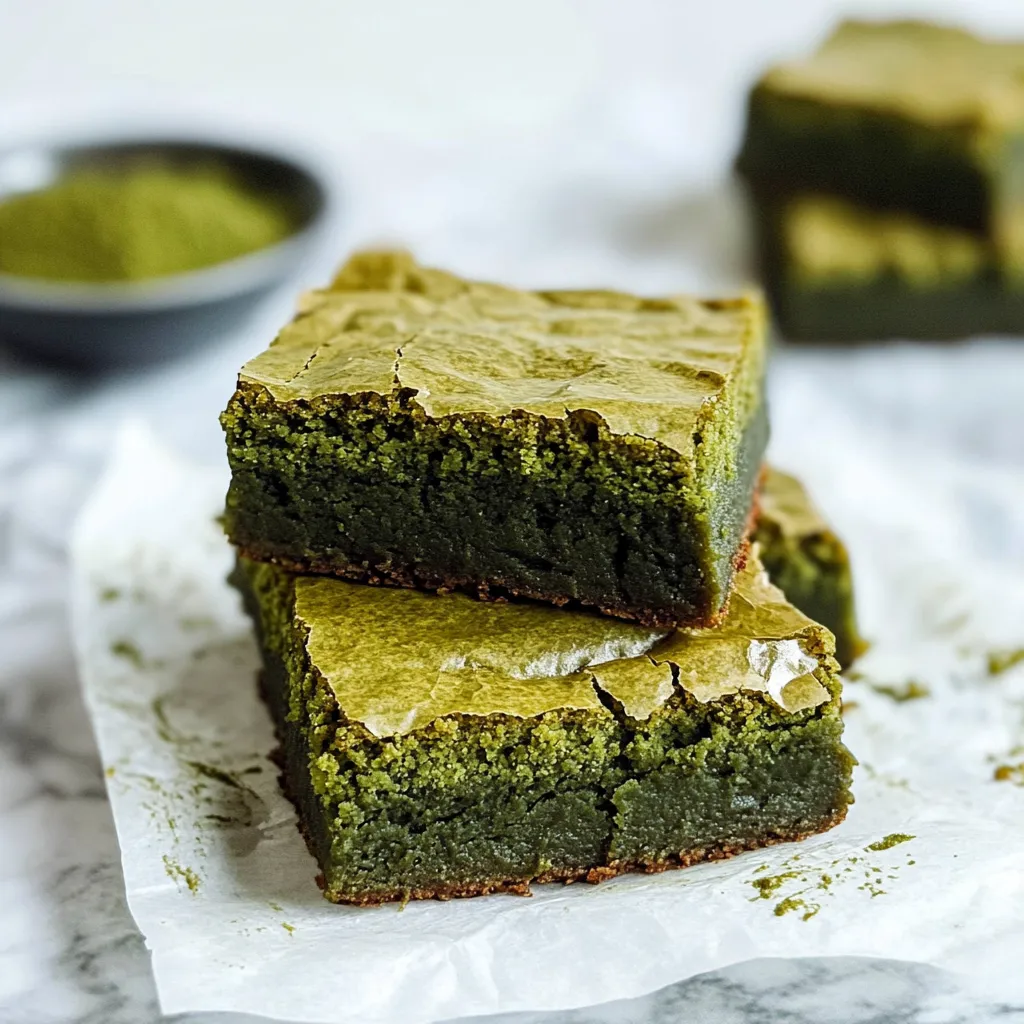
These Matcha Brownies have become my go-to dessert for parties. The mix of that dense, fudgy texture with the grown-up matcha flavor creates something that stands out and always gets people talking.
FAQ sur la recette
- → Why mix eggs and sugar for so long?
- It adds air, giving the brownies their light crackly top and fudgy inside.
- → What’s with dropping the pan?
- It’s a neat trick that helps form the classic crackly top and keeps them gooey inside.
- → Can I leave out the white chocolate?
- Nope, it’s key for the taste and texture that works so well with matcha.
- → Why let them sit for an hour?
- Cooling helps them firm up so you can slice them neatly and enjoy the best texture.
- → How do I cut them without a mess?
- Use a sharp knife and wipe it clean between slices for the best results.